Reflections
Here you can see all of my weekly reflections from the locan and global classes of Fab Academy...
W1 - Principles and practices
What? The first week was about many gits and pushes... All the basics that provides us the background for a greatly documented and proccessed Fab Academy adventure. In this first week we were intoduced to the structure of the course and how will we collaborete in this course locally and globally, in small groups and as a collective of member os the Fablab Barcelona.
Why? To be able and move around a bit more comfortable around the digital world of gits, as a start of our knowledge about coding and the phisical knowledge, in the challenging year of Fab Academy trimester
How? Through local and global presentations from our team of Fablab Barcelona and from Neil Gershenfeld - professor at MIT and the director of MIT's Center for Bits and Atoms, a sister lab to the MIT Media Lab.
Next steps...
- Studying more about Webflow and Fork, for an easier way of writing these reflections
- Get a bit more comfortable with the idea of my own triage in my tasks through this semester...
Here you can see the first assignment: Inspiration of 3 documentation methods
W2 - Computer-aided design
This week we started scratching the surface of the digital design world, where we talked about different formats and textures a computer aided software can create. We had a theoretical class, where we dived deep into the world of rasters, vectors, resolutions for different purposes of the 2D design. For me these were familiar concepts, but I always like to look behind these again and again to freshen up the knowledge about these “buzz words” we are using every day.
After 2D we made a huge rotate on the axes and started studying about 3D design, the theory behind Nurbs and Mashes and challenges about parametric design. Under the word challenges I mostly think about tools and programs for different aims with our 3D design. Mostly I’m using Rhino and I studied a bit of Solid-works - two very different workflow and working method, but now I want to dig deeper in Fusion360 and Grasshopper, to be able and create parametric designs in an easier way and understand it more.
Talking about tools and methods, Victor showed us a very different way of using and creating the tools which we are designing. He talked about how Blender was born and about the evolving community who keeps it alive. The concept of the existence of Blender is very interesting to me and next to experiment with the tool, I’m looking forward to understand the creator community behind it.
The assignment
This week’s assignment was to do a 3D design which is connected somehow to our research project and then combine it with 2D parts:
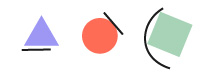
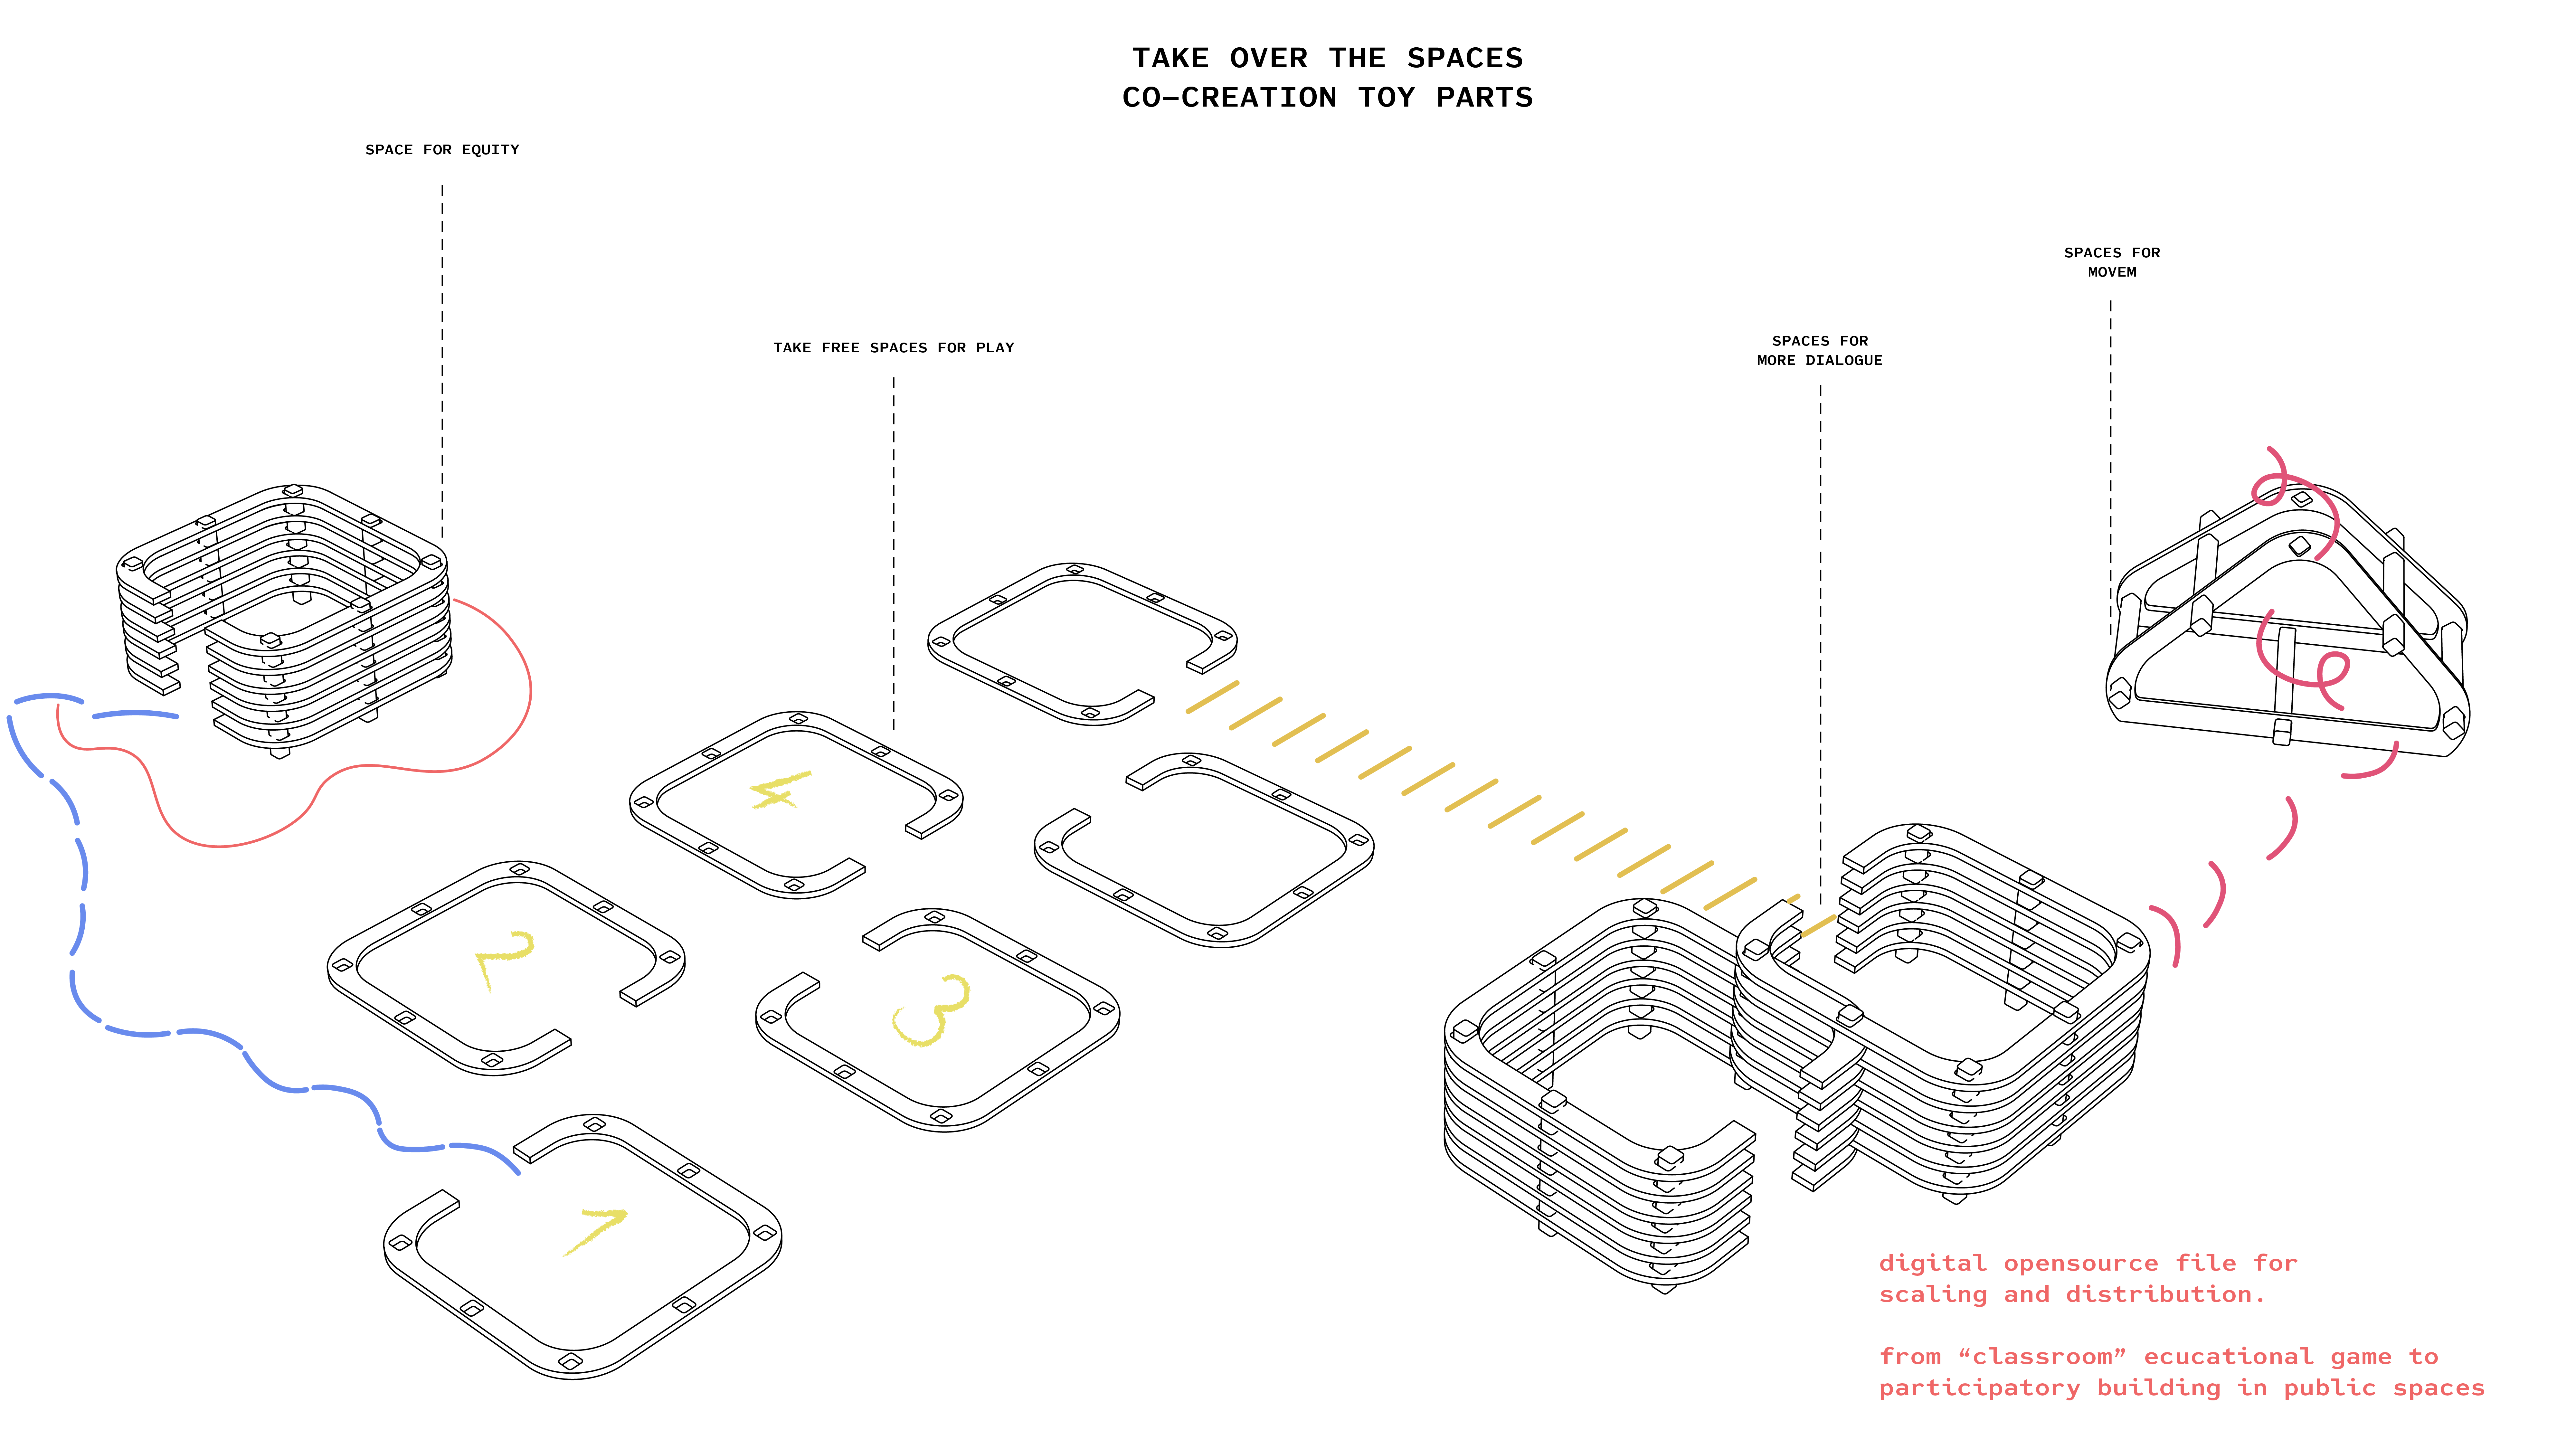
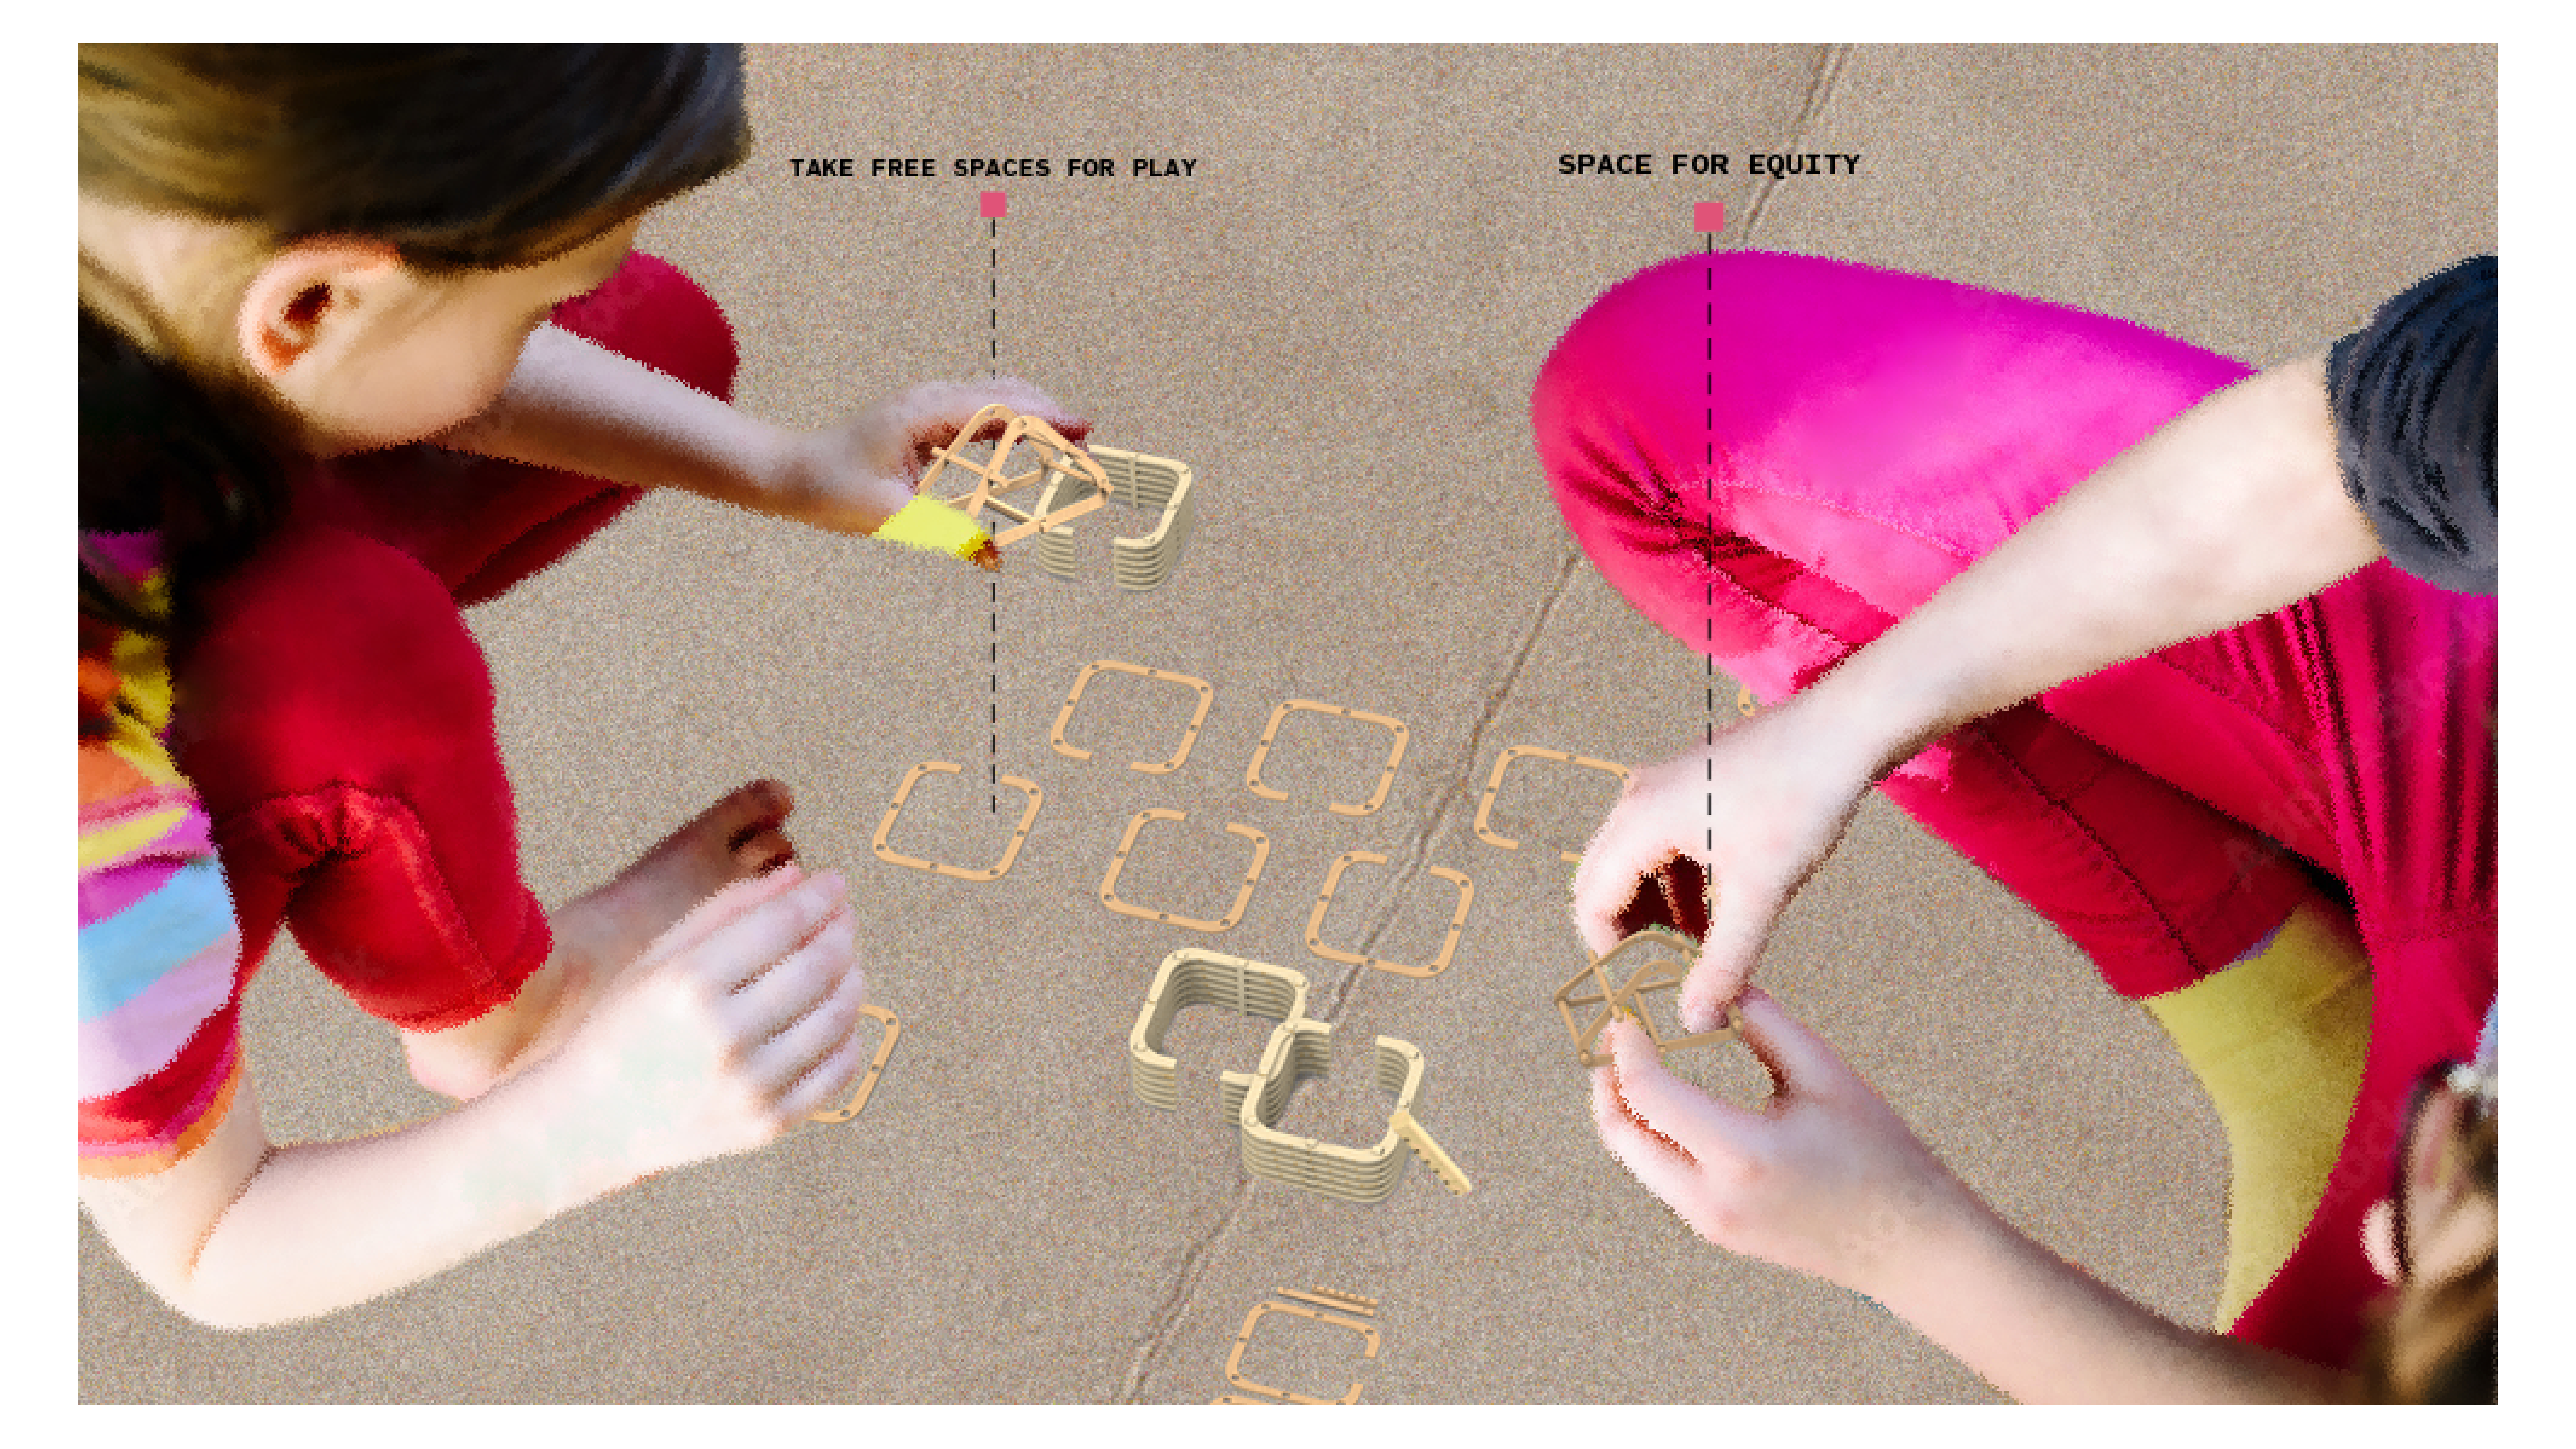
So I designed some parts of an open source toy system in Rhino, rendered them in Keyshot and showed the system of it in a 2D design by Photoshop and Illustrator.
With my research project I’m focusing on the accelerating urbanisation and on it’s really important aspect - the urban childhood. Today it is really important to use our cities and our spaces for dialogues for a tomorrow, which includes answers to all of our needs.
For that we have to provide information and platform for knowledge to give agency for all the generations to know that they have a voice and it is important for all of us to shape our environment together - the awareness of decision making. So I want to use the system of our cities and neighbourhoods, to co-design with kids, learning about the importance of their own rights, such as: freedom of speech and the ability os making decisions. And by doing so create dialogues between stakeholders, such as decision makers, urbanists and child-right activists for common planning and thinking by the means of our own public spaces. To be able and use the public spaces for actually lining together. For this intervention, I want to think in an open-source and distributed way, to be able and provide this approach easily in many schools, neighbourhoods and networks. So for this task I designed an open-source and by that a scalable part of an “educational” toy system which invites different generations for co-designing in their class rooms first and then in their own neighbourhood’s public spaces.
Emphasising the aspect of inclusivity in design and play-fullness in cities: Creating space to play! Creating space for inclusivity and safe!
See my assignment below:

Download the cutting and carving file
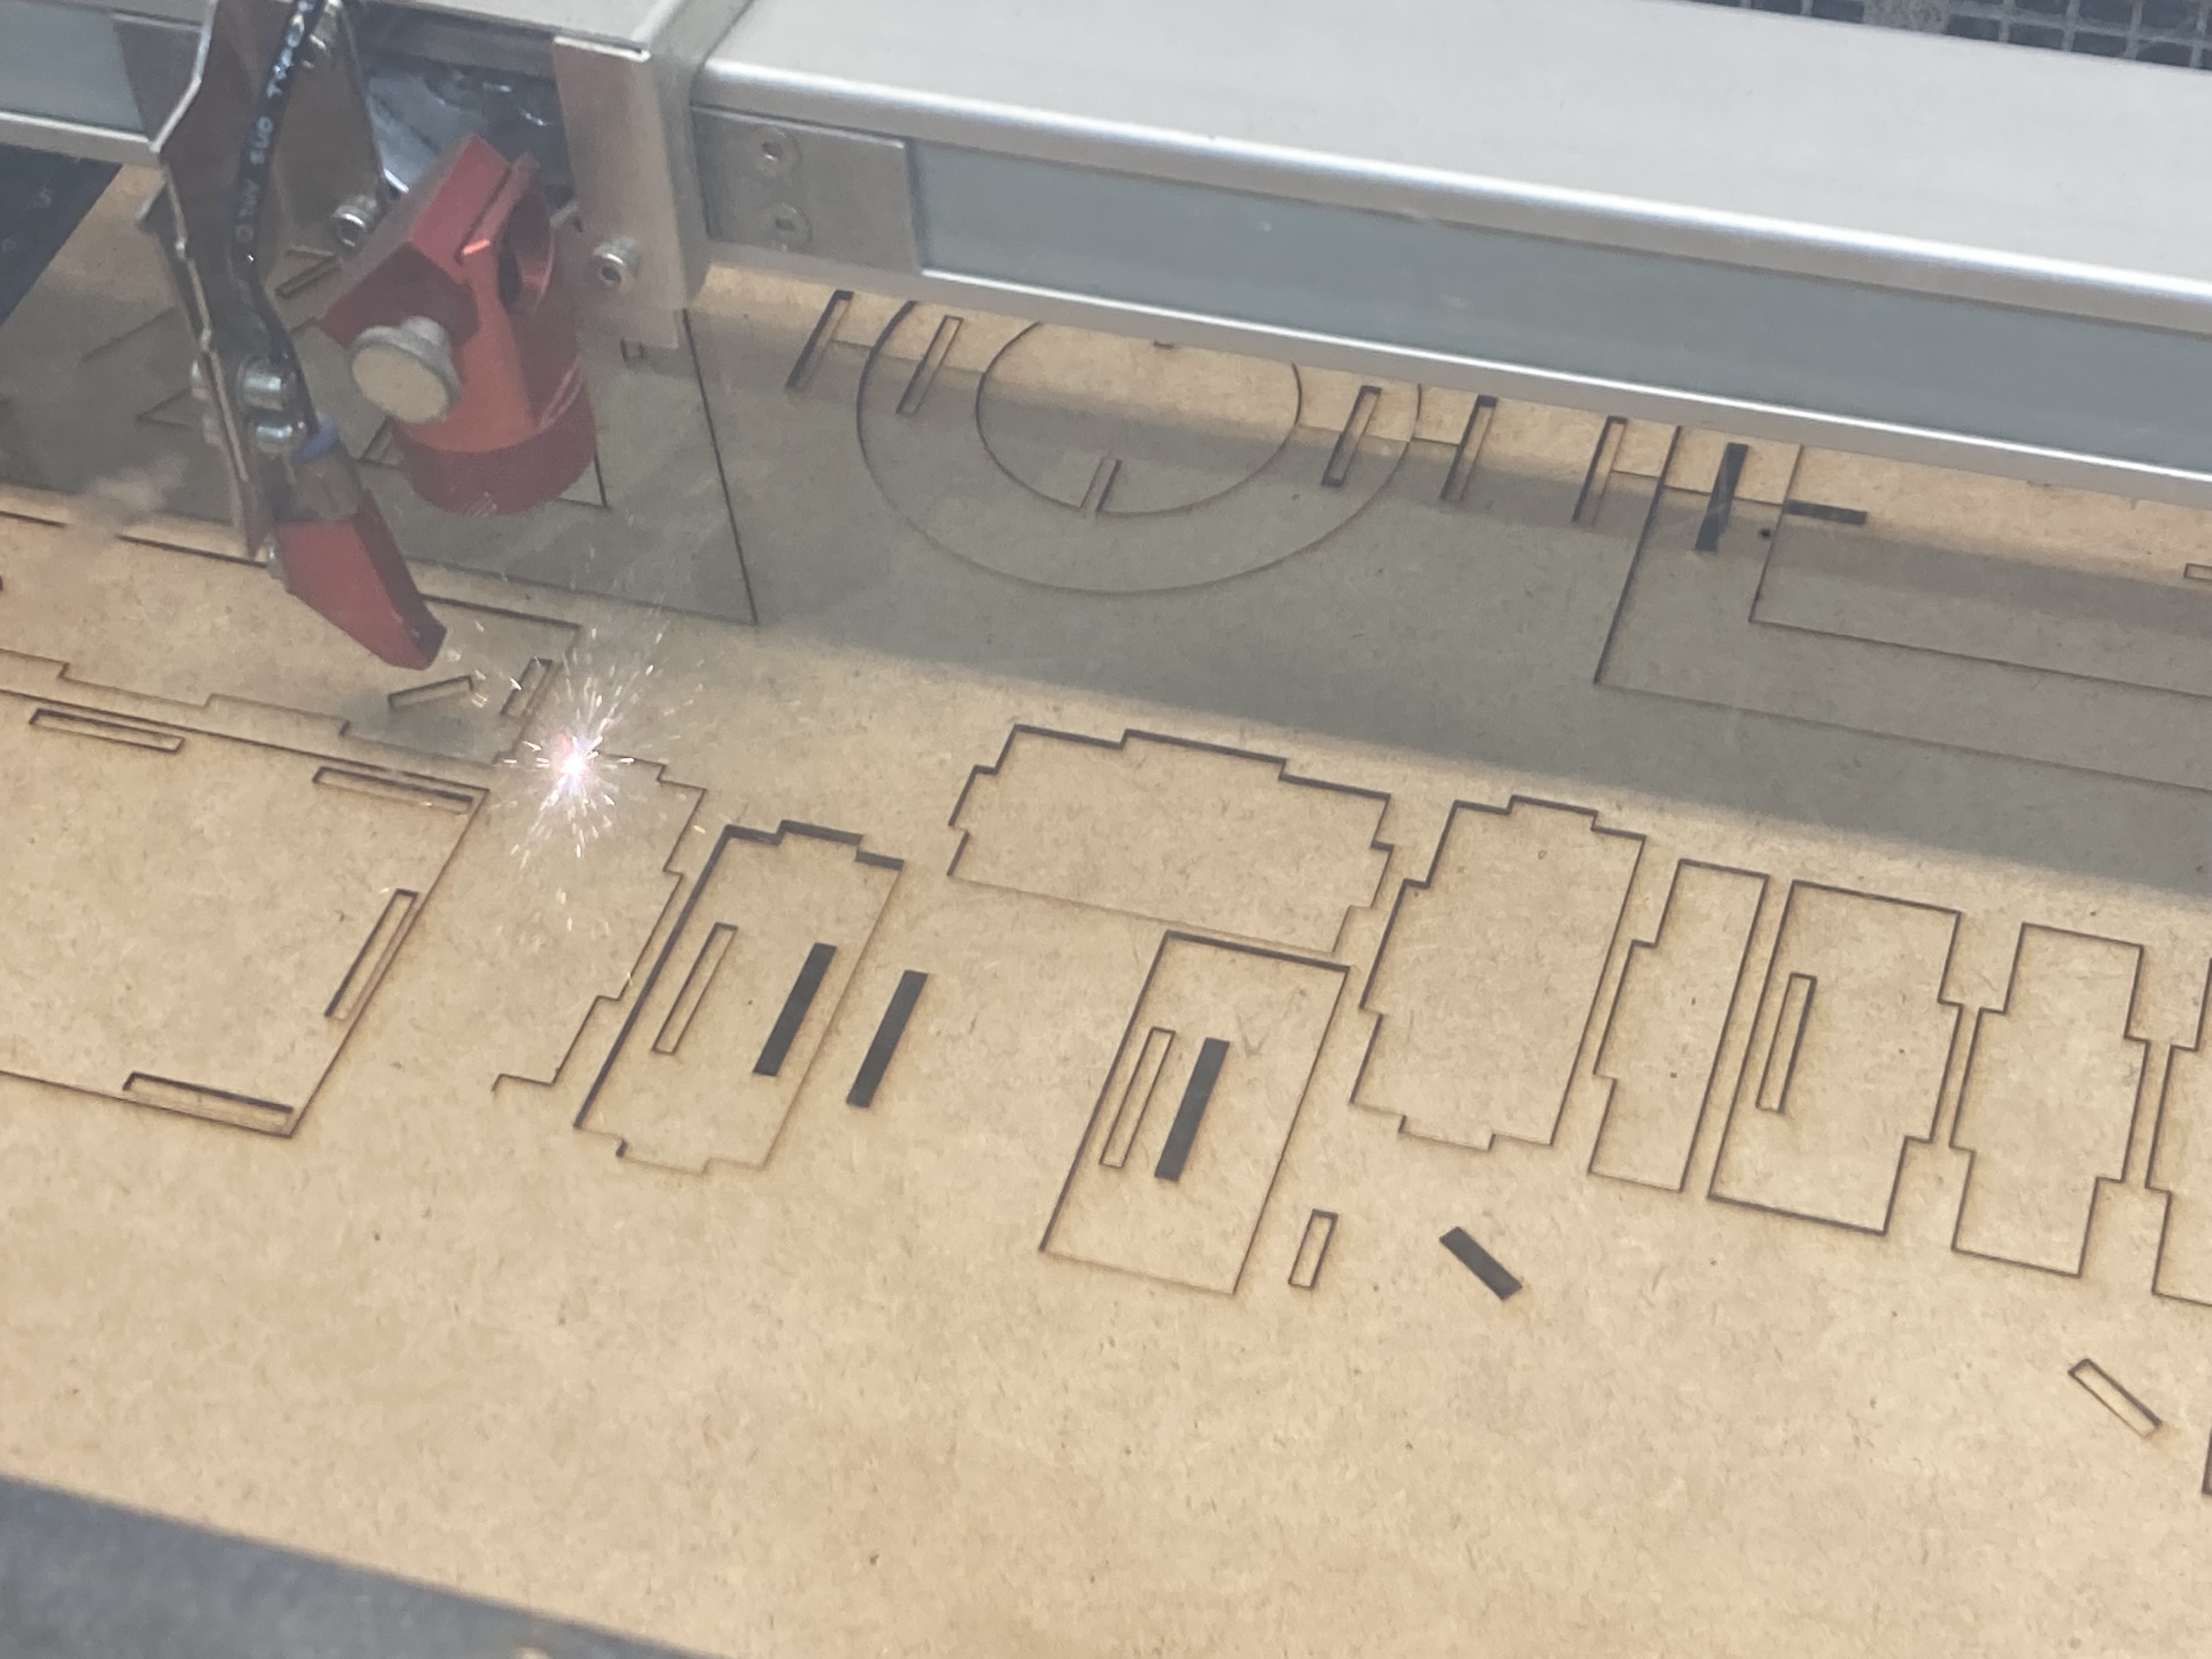
W3 - Computer-controlled cutting
This week we studied about the implementation of the 2D design into 3D, by the means of phisycal forms and shapes. How to turn digital blueprints into objects from the same vector file.
First time I’ve ever used a laser cutter was 5 years before in Fablab Budapest, when we created a huge fractal statute from paper. That time the aid of parametrical design and the realisation of the pieces was unattainable.
I was really excited to start using these machines in Fablab Barcelona as well, and to be able and start ideating about open source projects, which is a very important principle in my research. I used the laser cutter for my task and was also considering the vinyl cutter for symbols, but I figured just for aesthetics I dont want to turn on a machine and create either a little amount of waste from vinyl.
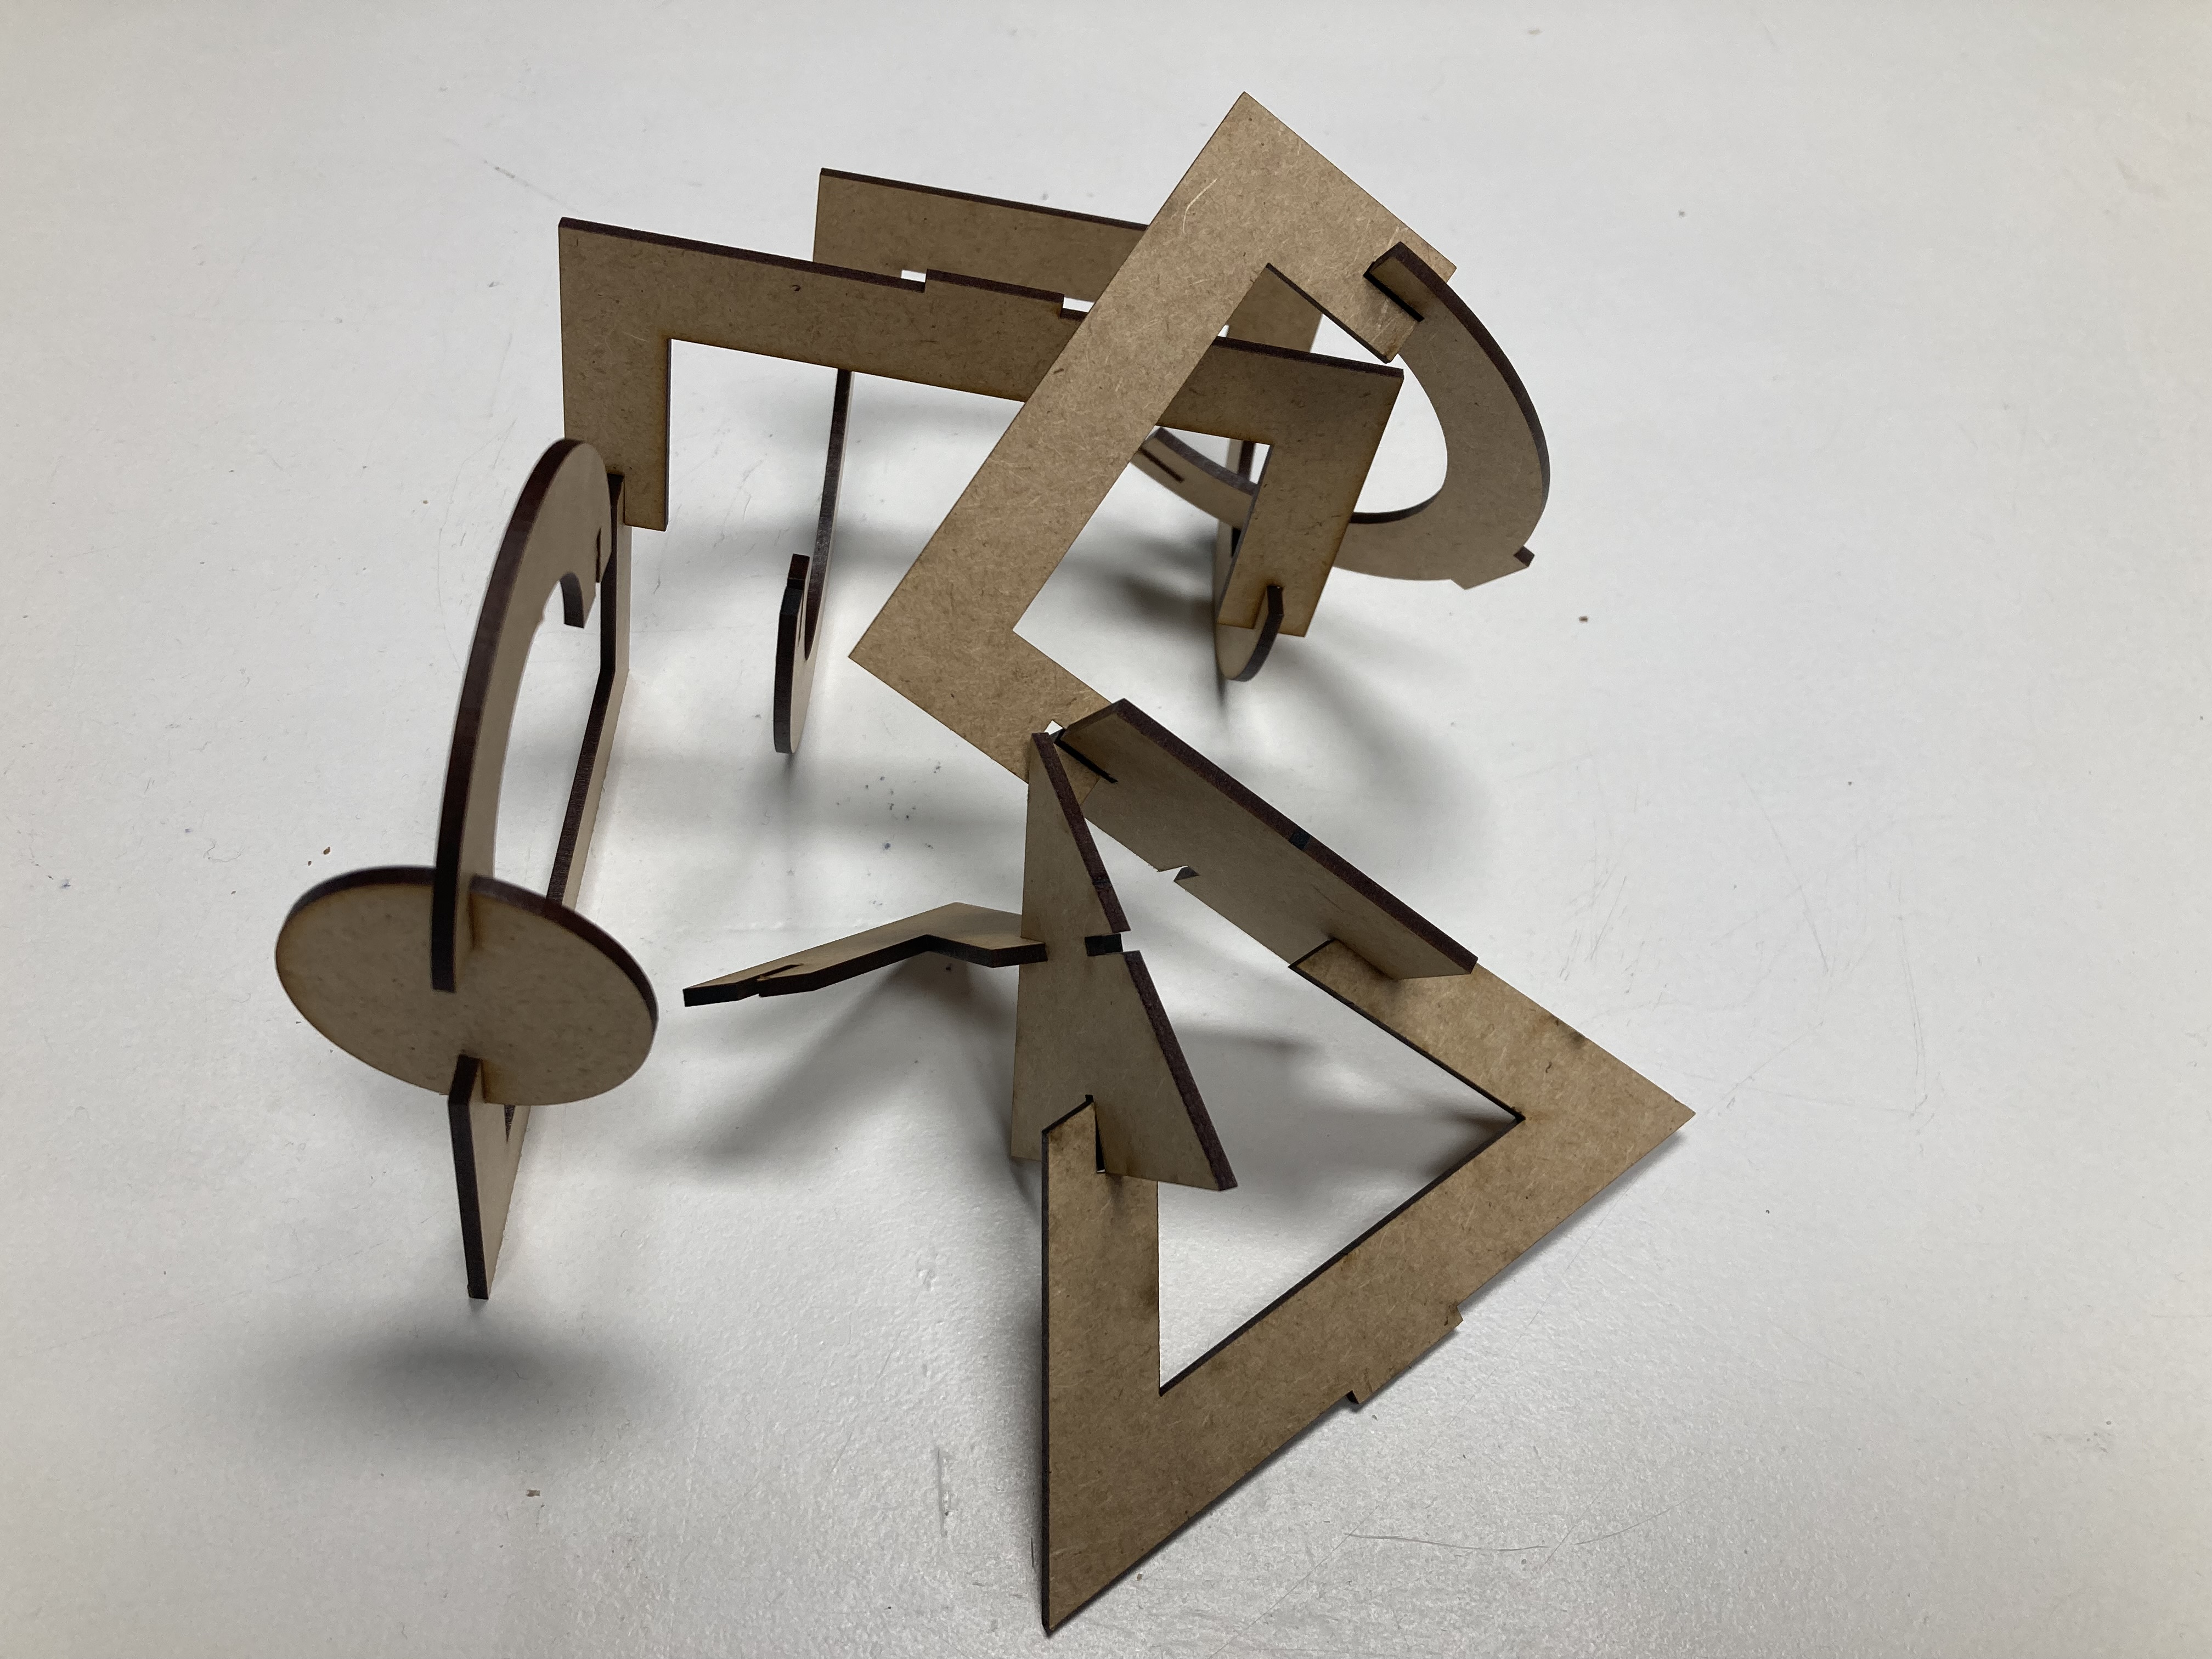
So for our weekly assignment I used the analogy of a bauhaus project, when from architectural blueprints, graphic designers designed movements and connected the movements to the three basic shapes of the bauhaus and from them contemporary dancers created coreographies.
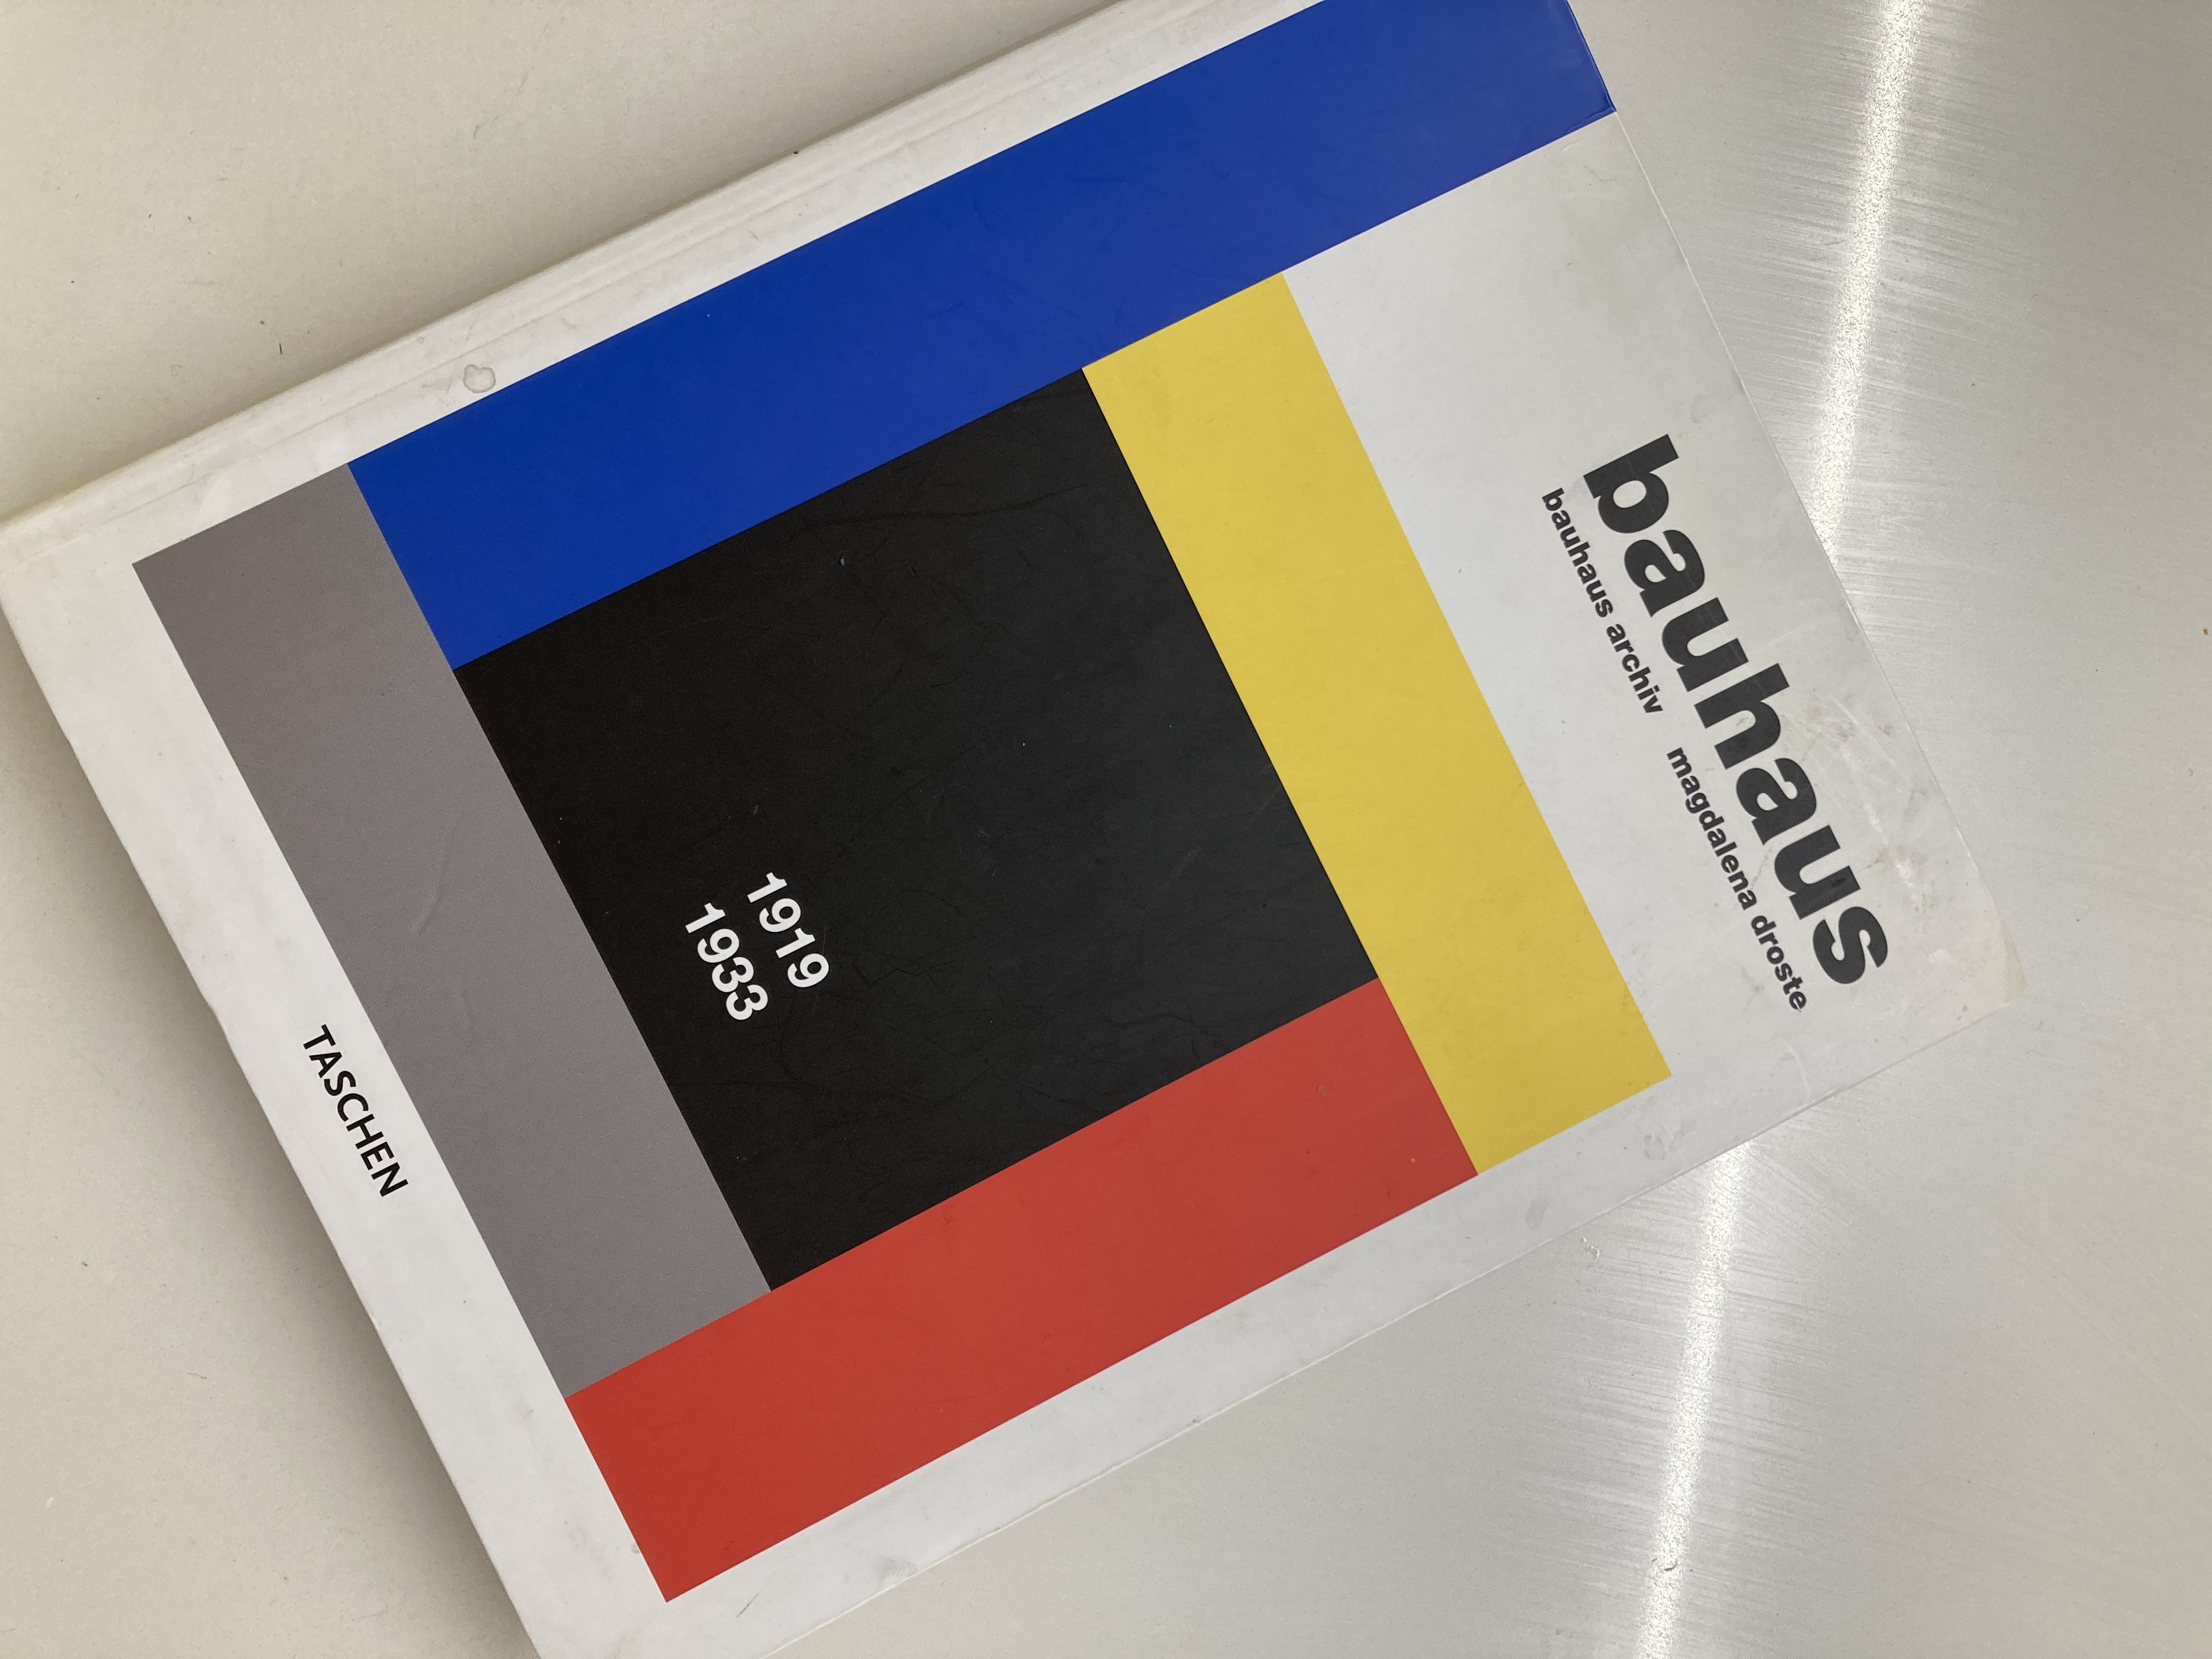
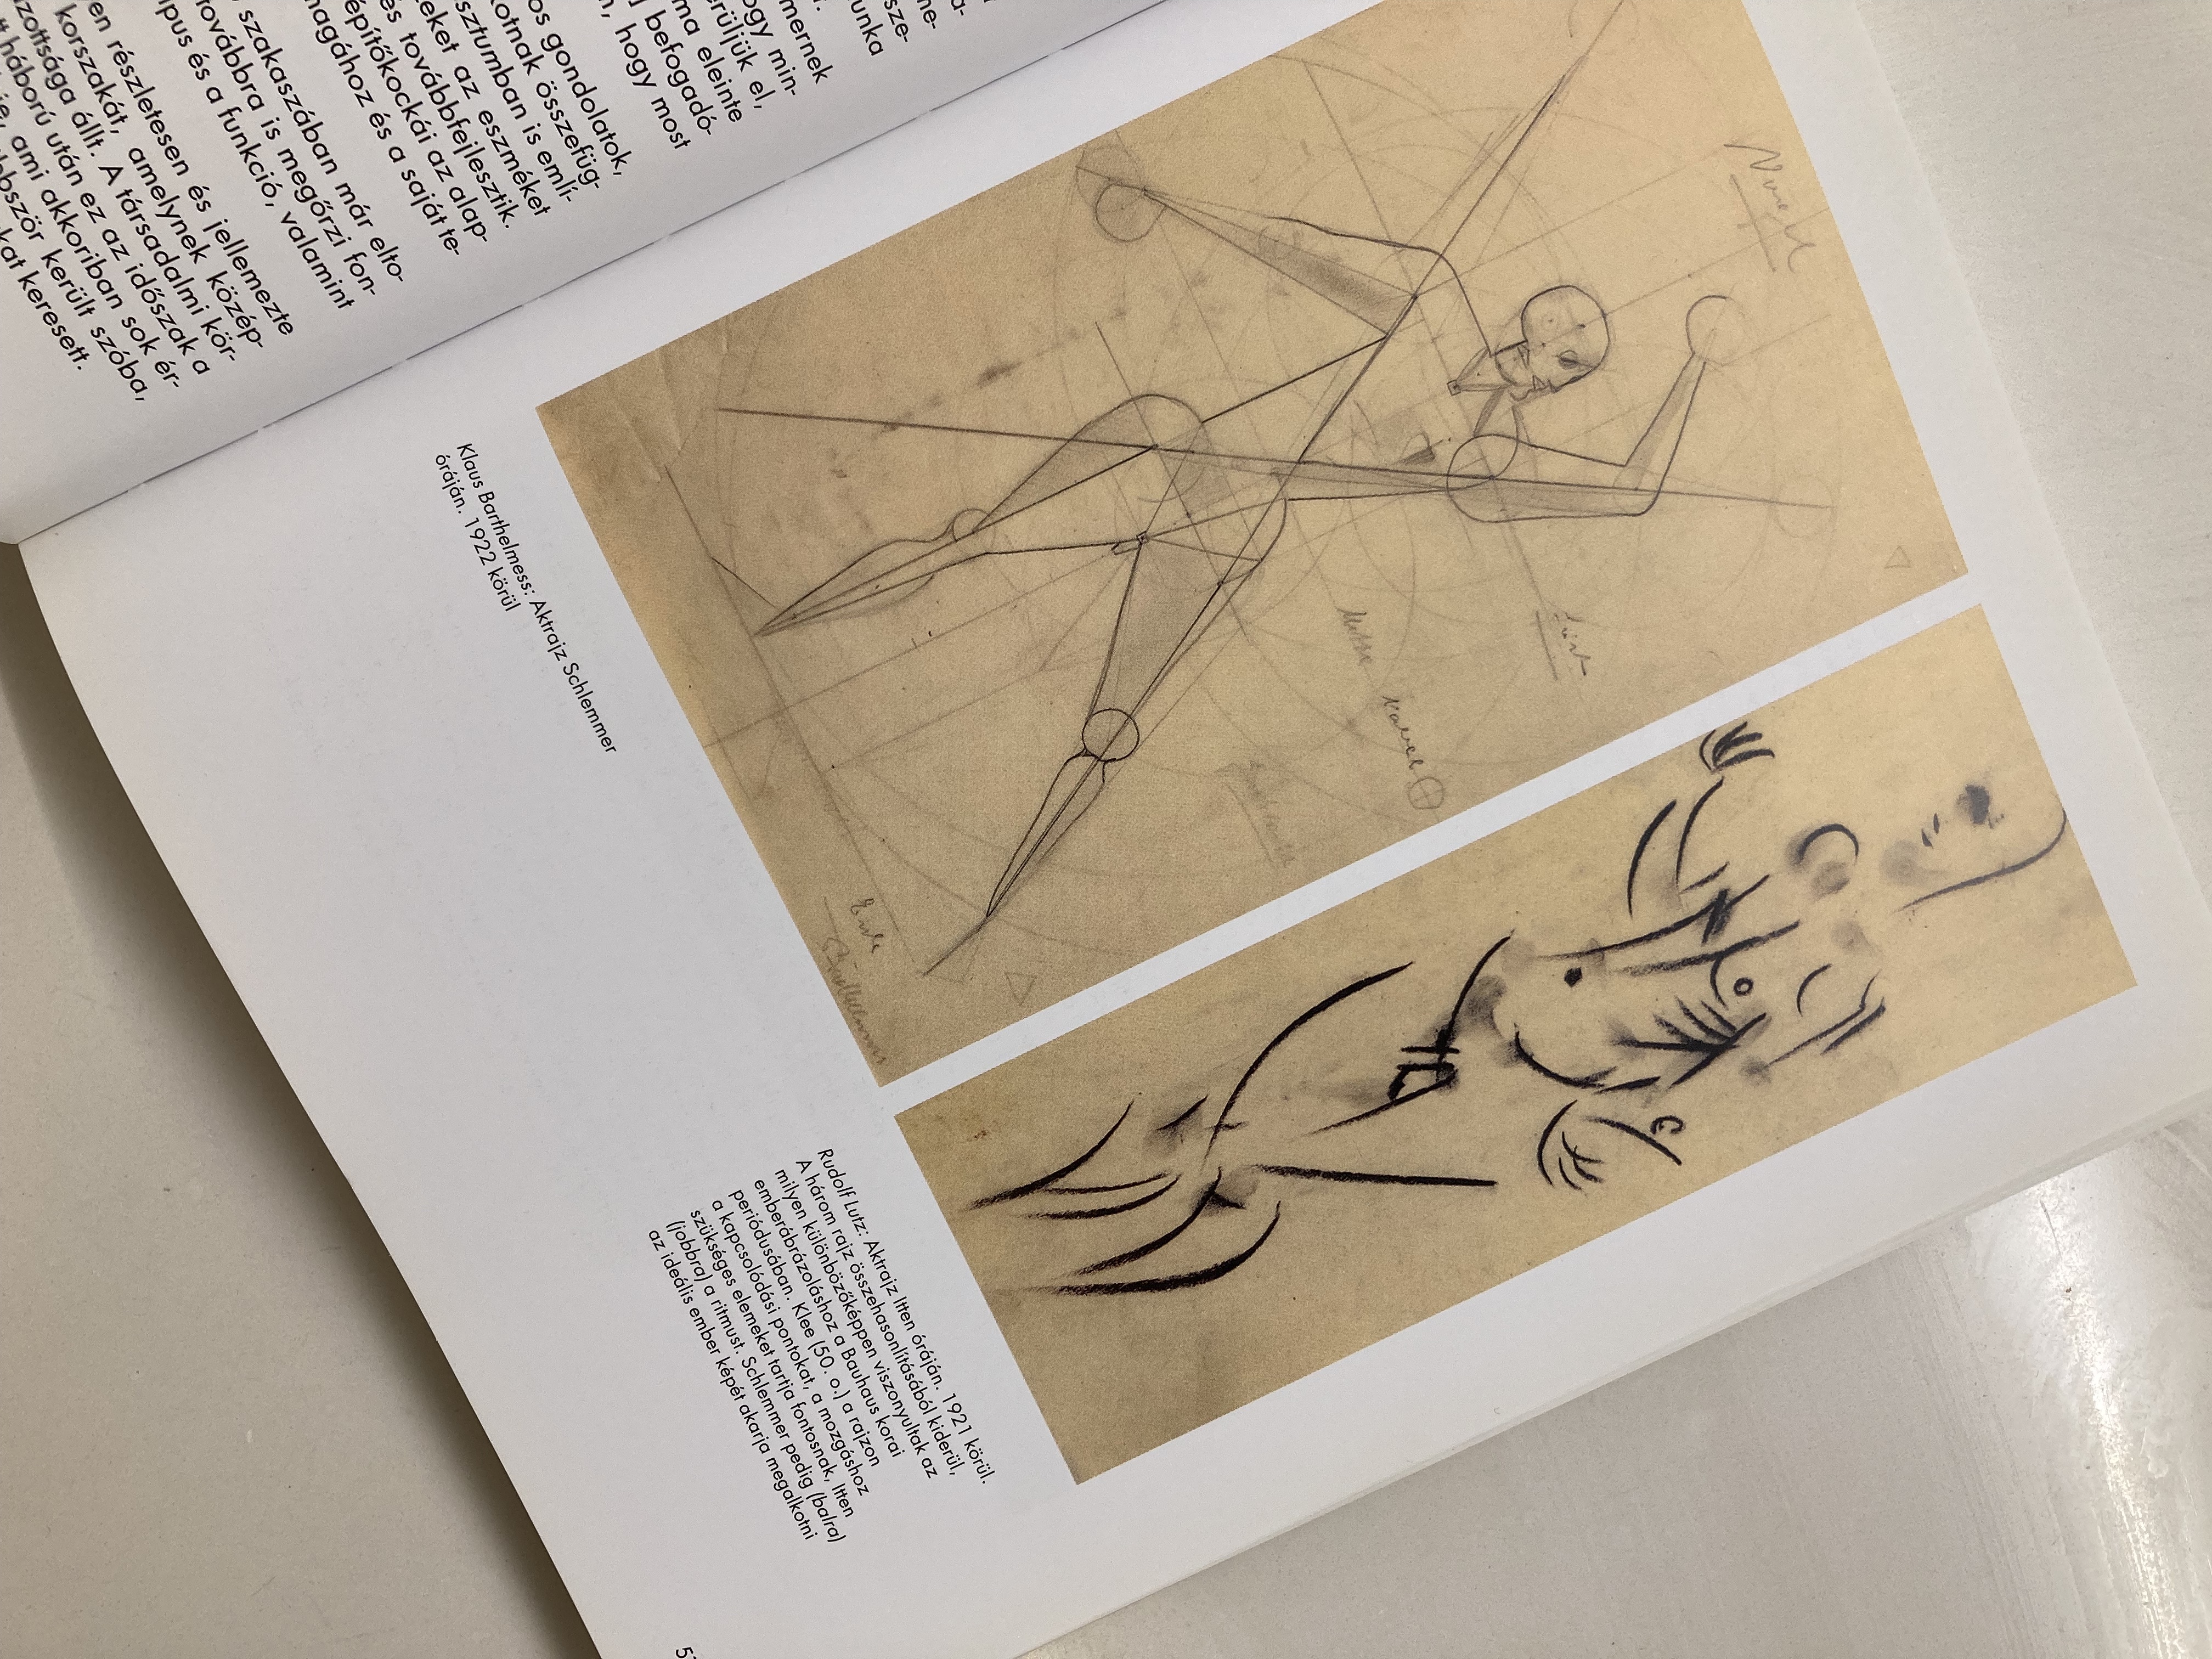
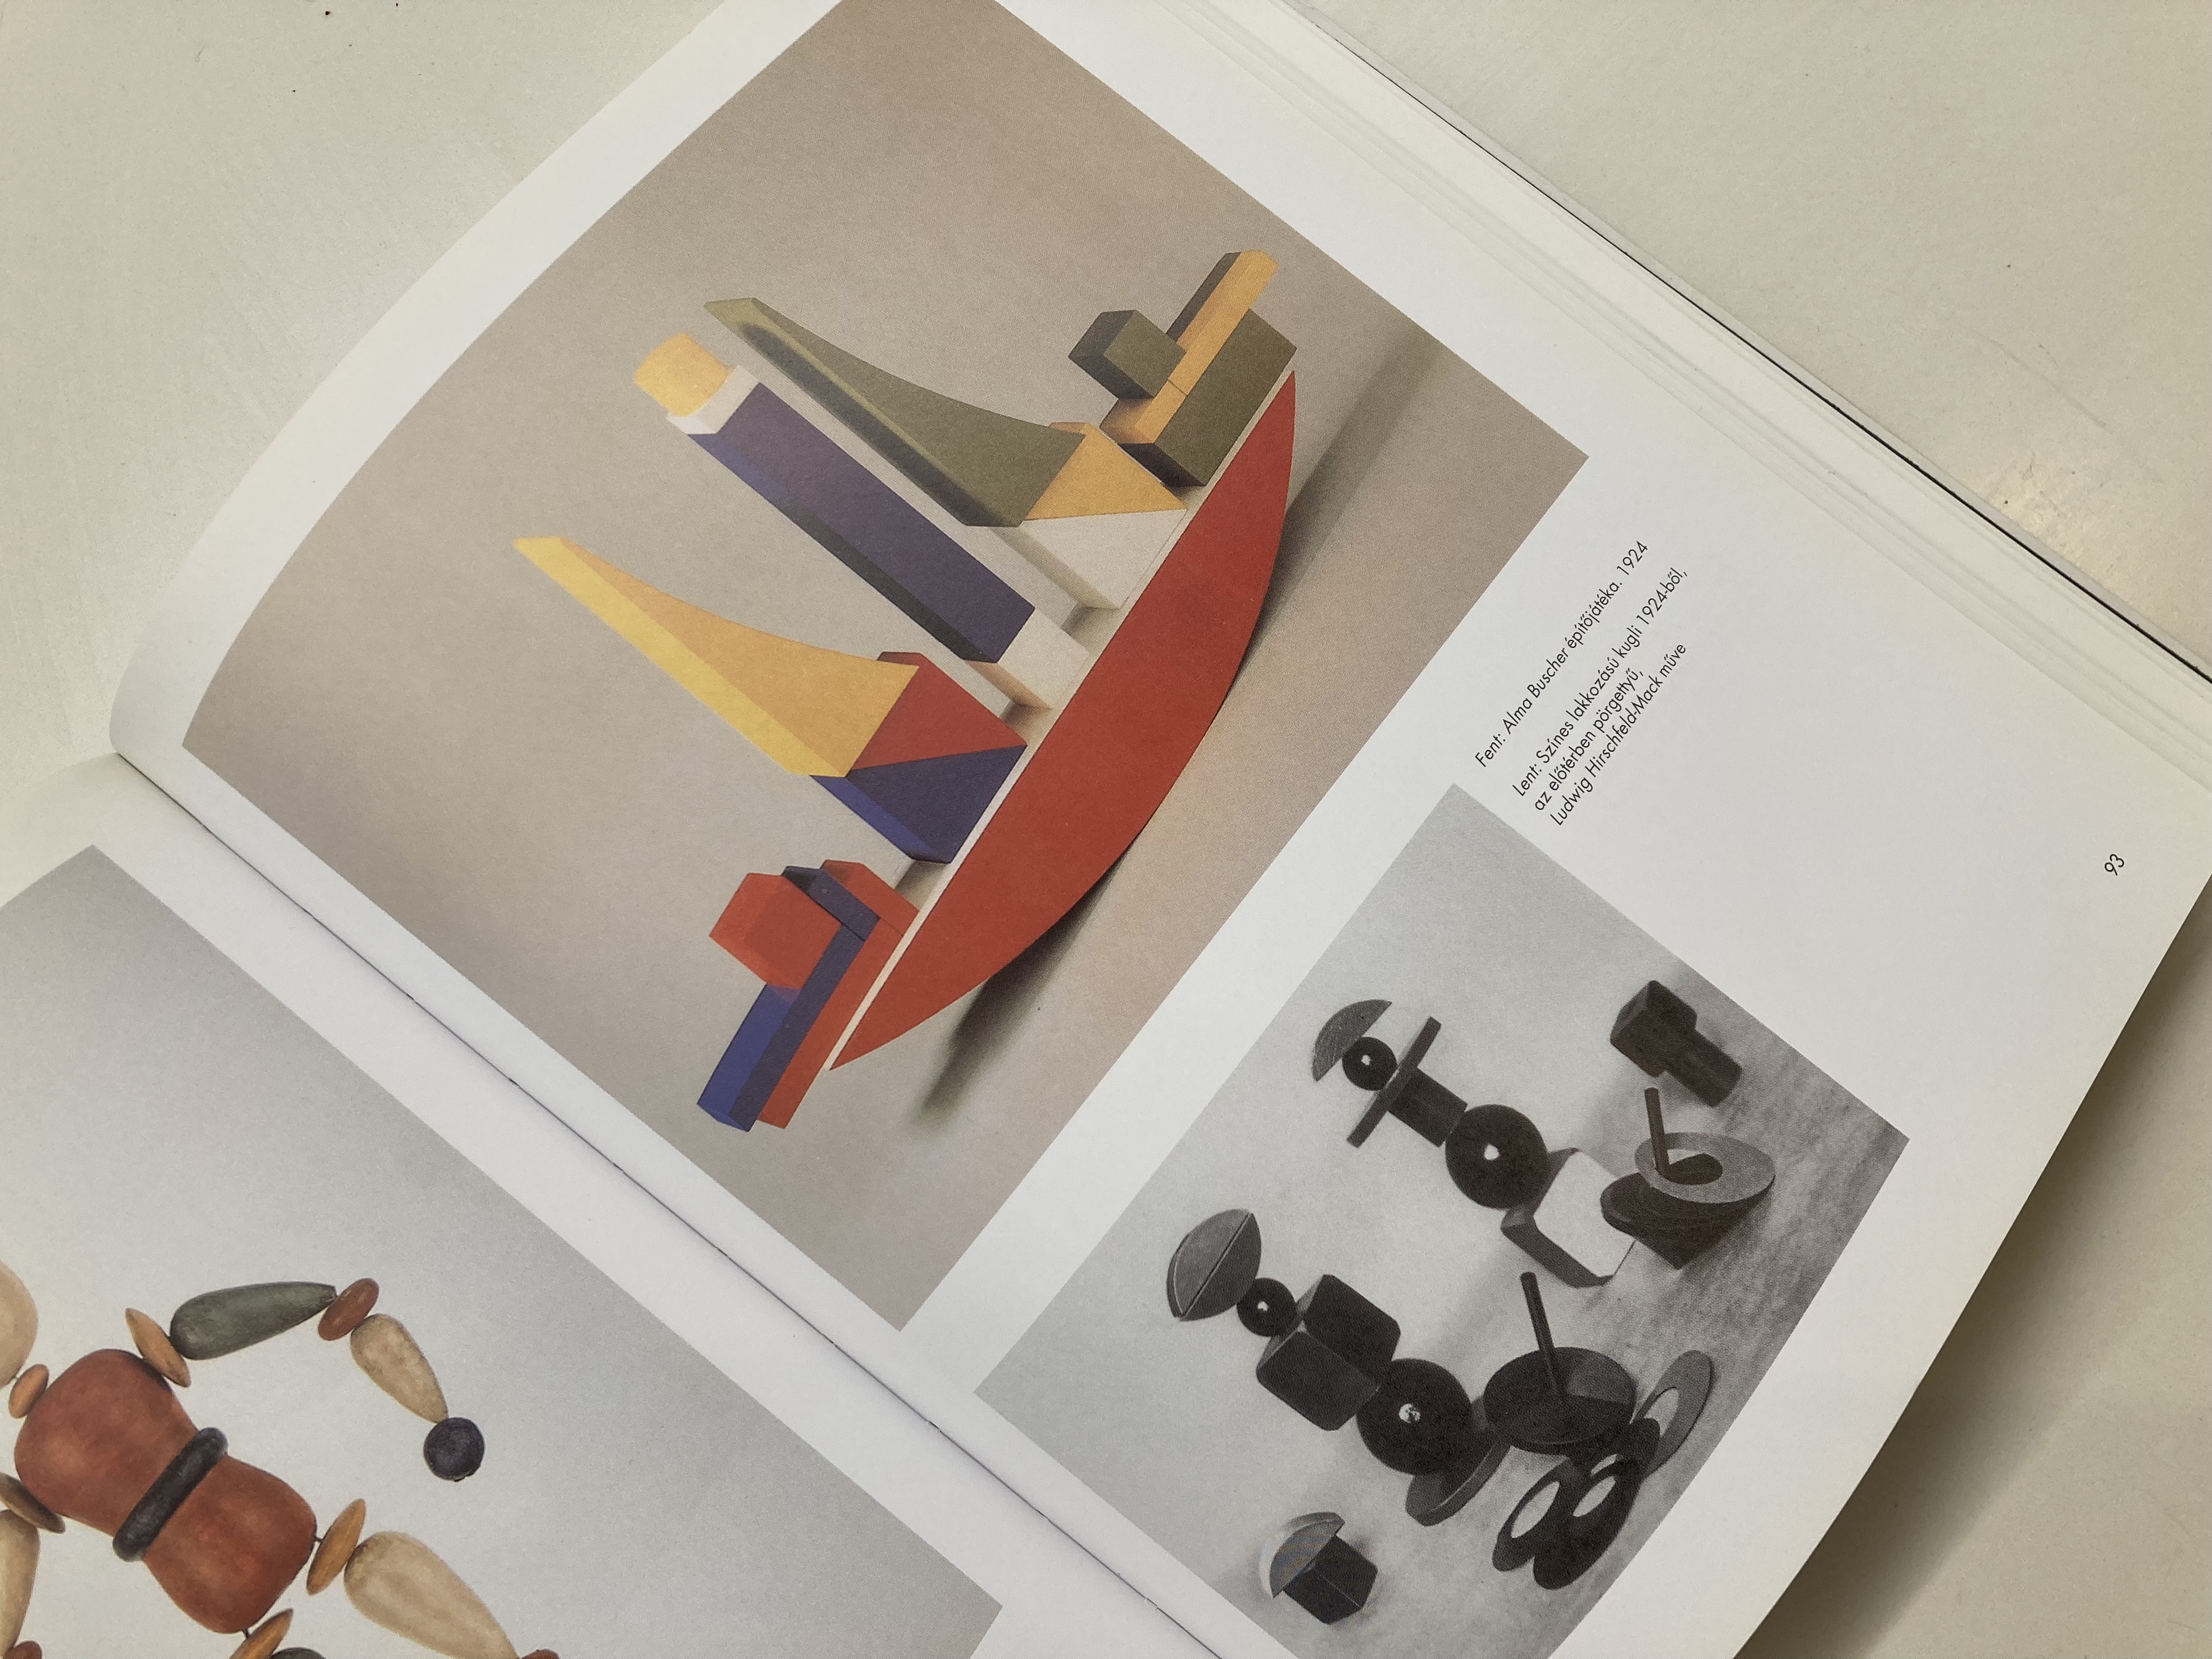
I used this graphics and movements for phisycal embodiments, created a building game which is based on them. I used parametric design for scaling and slicing the shapes to halfs for an interresting sturcture. The base of the building game is the MDF sheet which its cut from - the wholes of the press fit parts.
Below you can see the design:
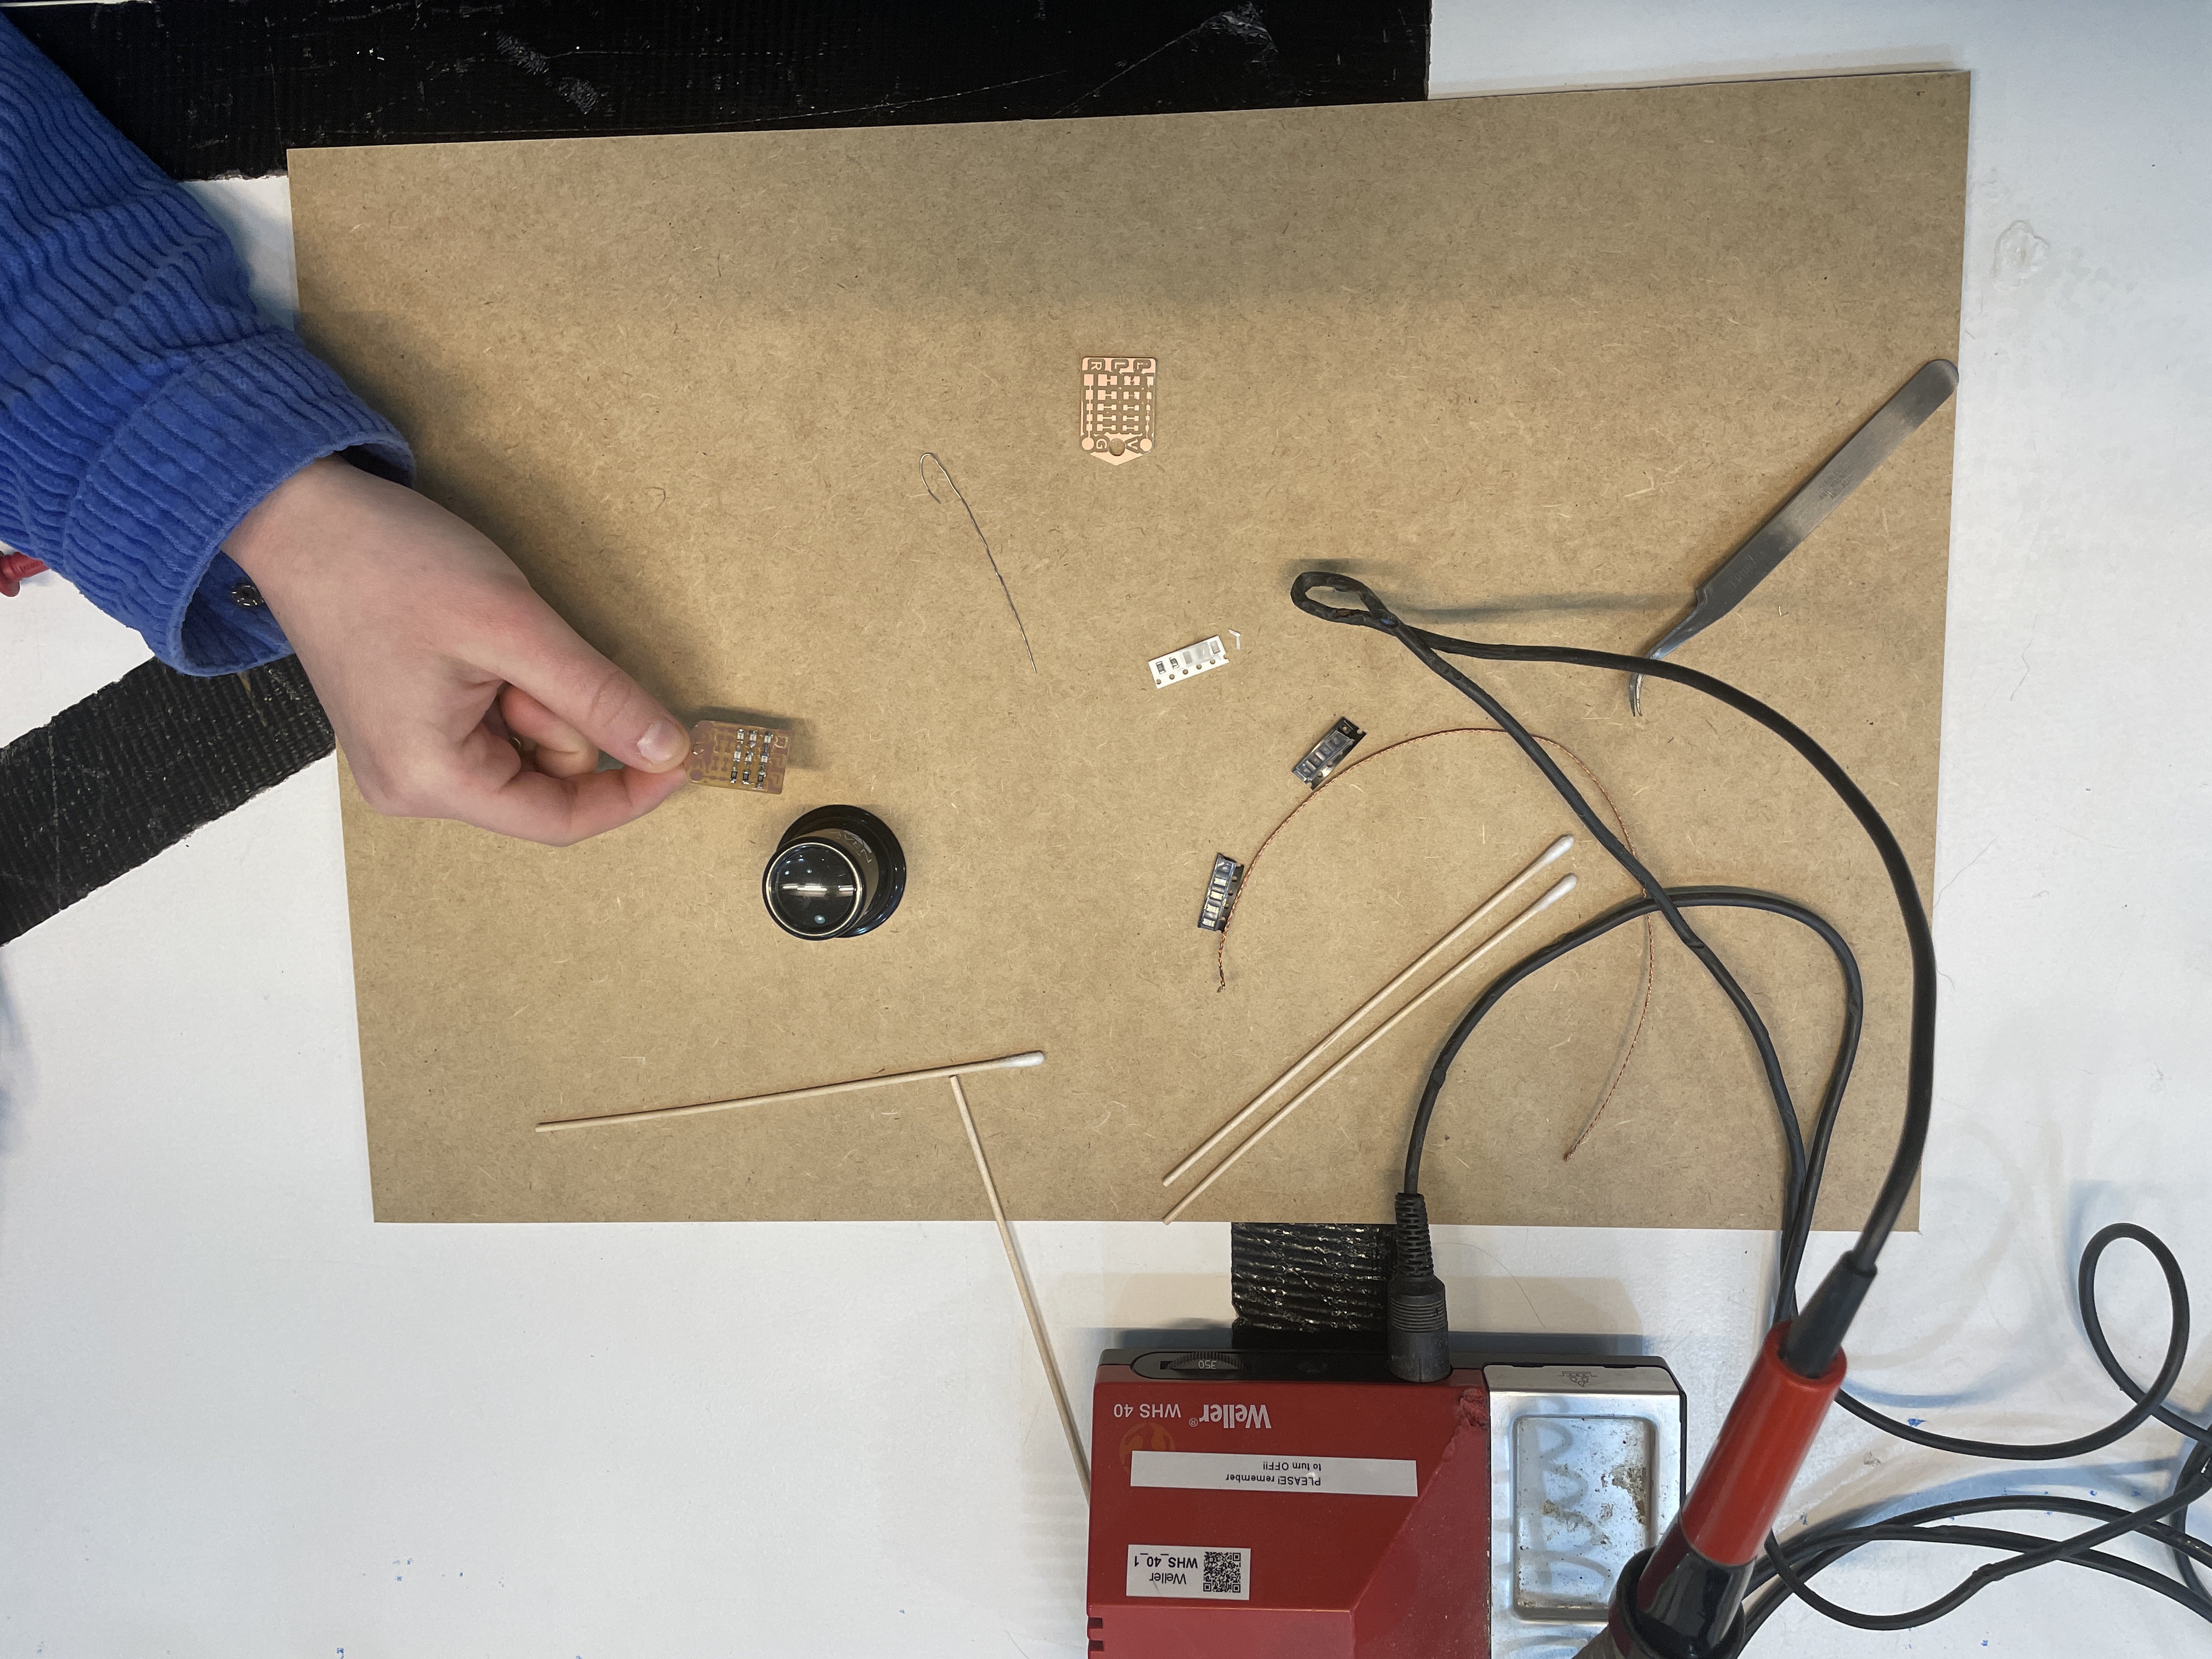
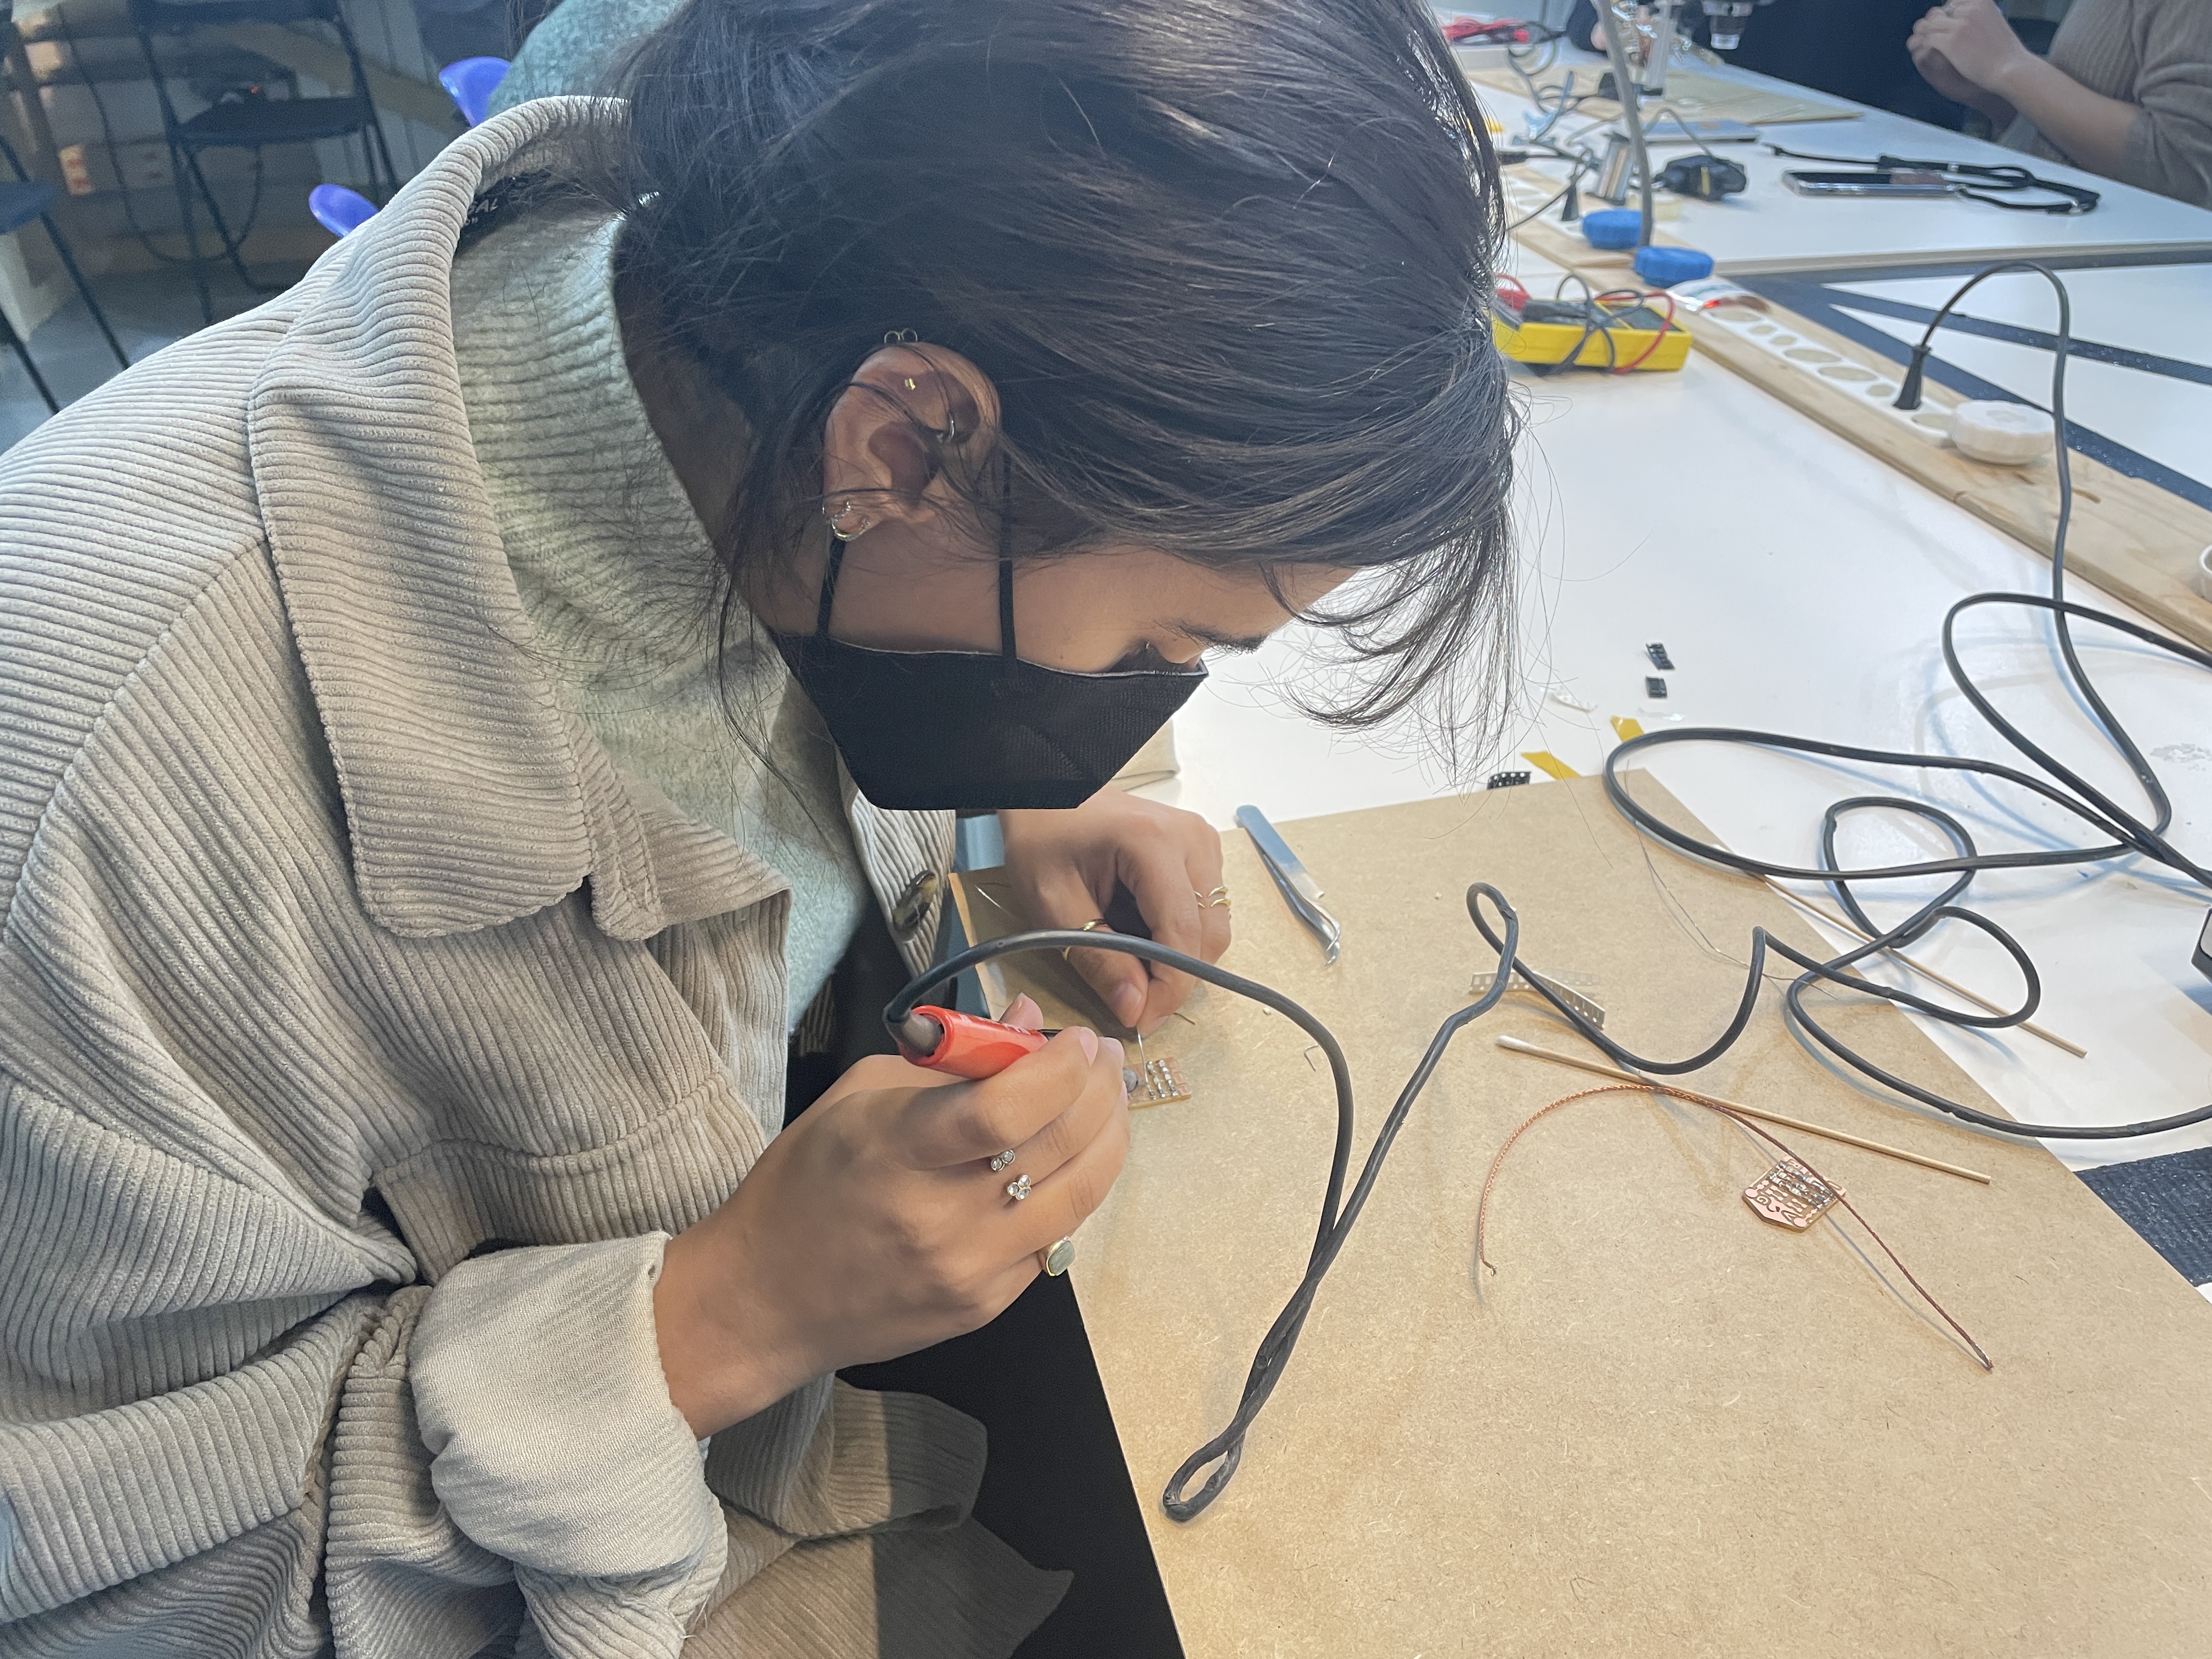
W4 - Electronics production
This week we studied about electronics, but a bit deeper than usually. We dived deep into the electronical devices we have and analyzed the circuit boards and their creations. The history of it and how they are made is super interresting and I was happy to refresh and deepen the menories and the knowledge about it, after the precourse we had with the fablab team.
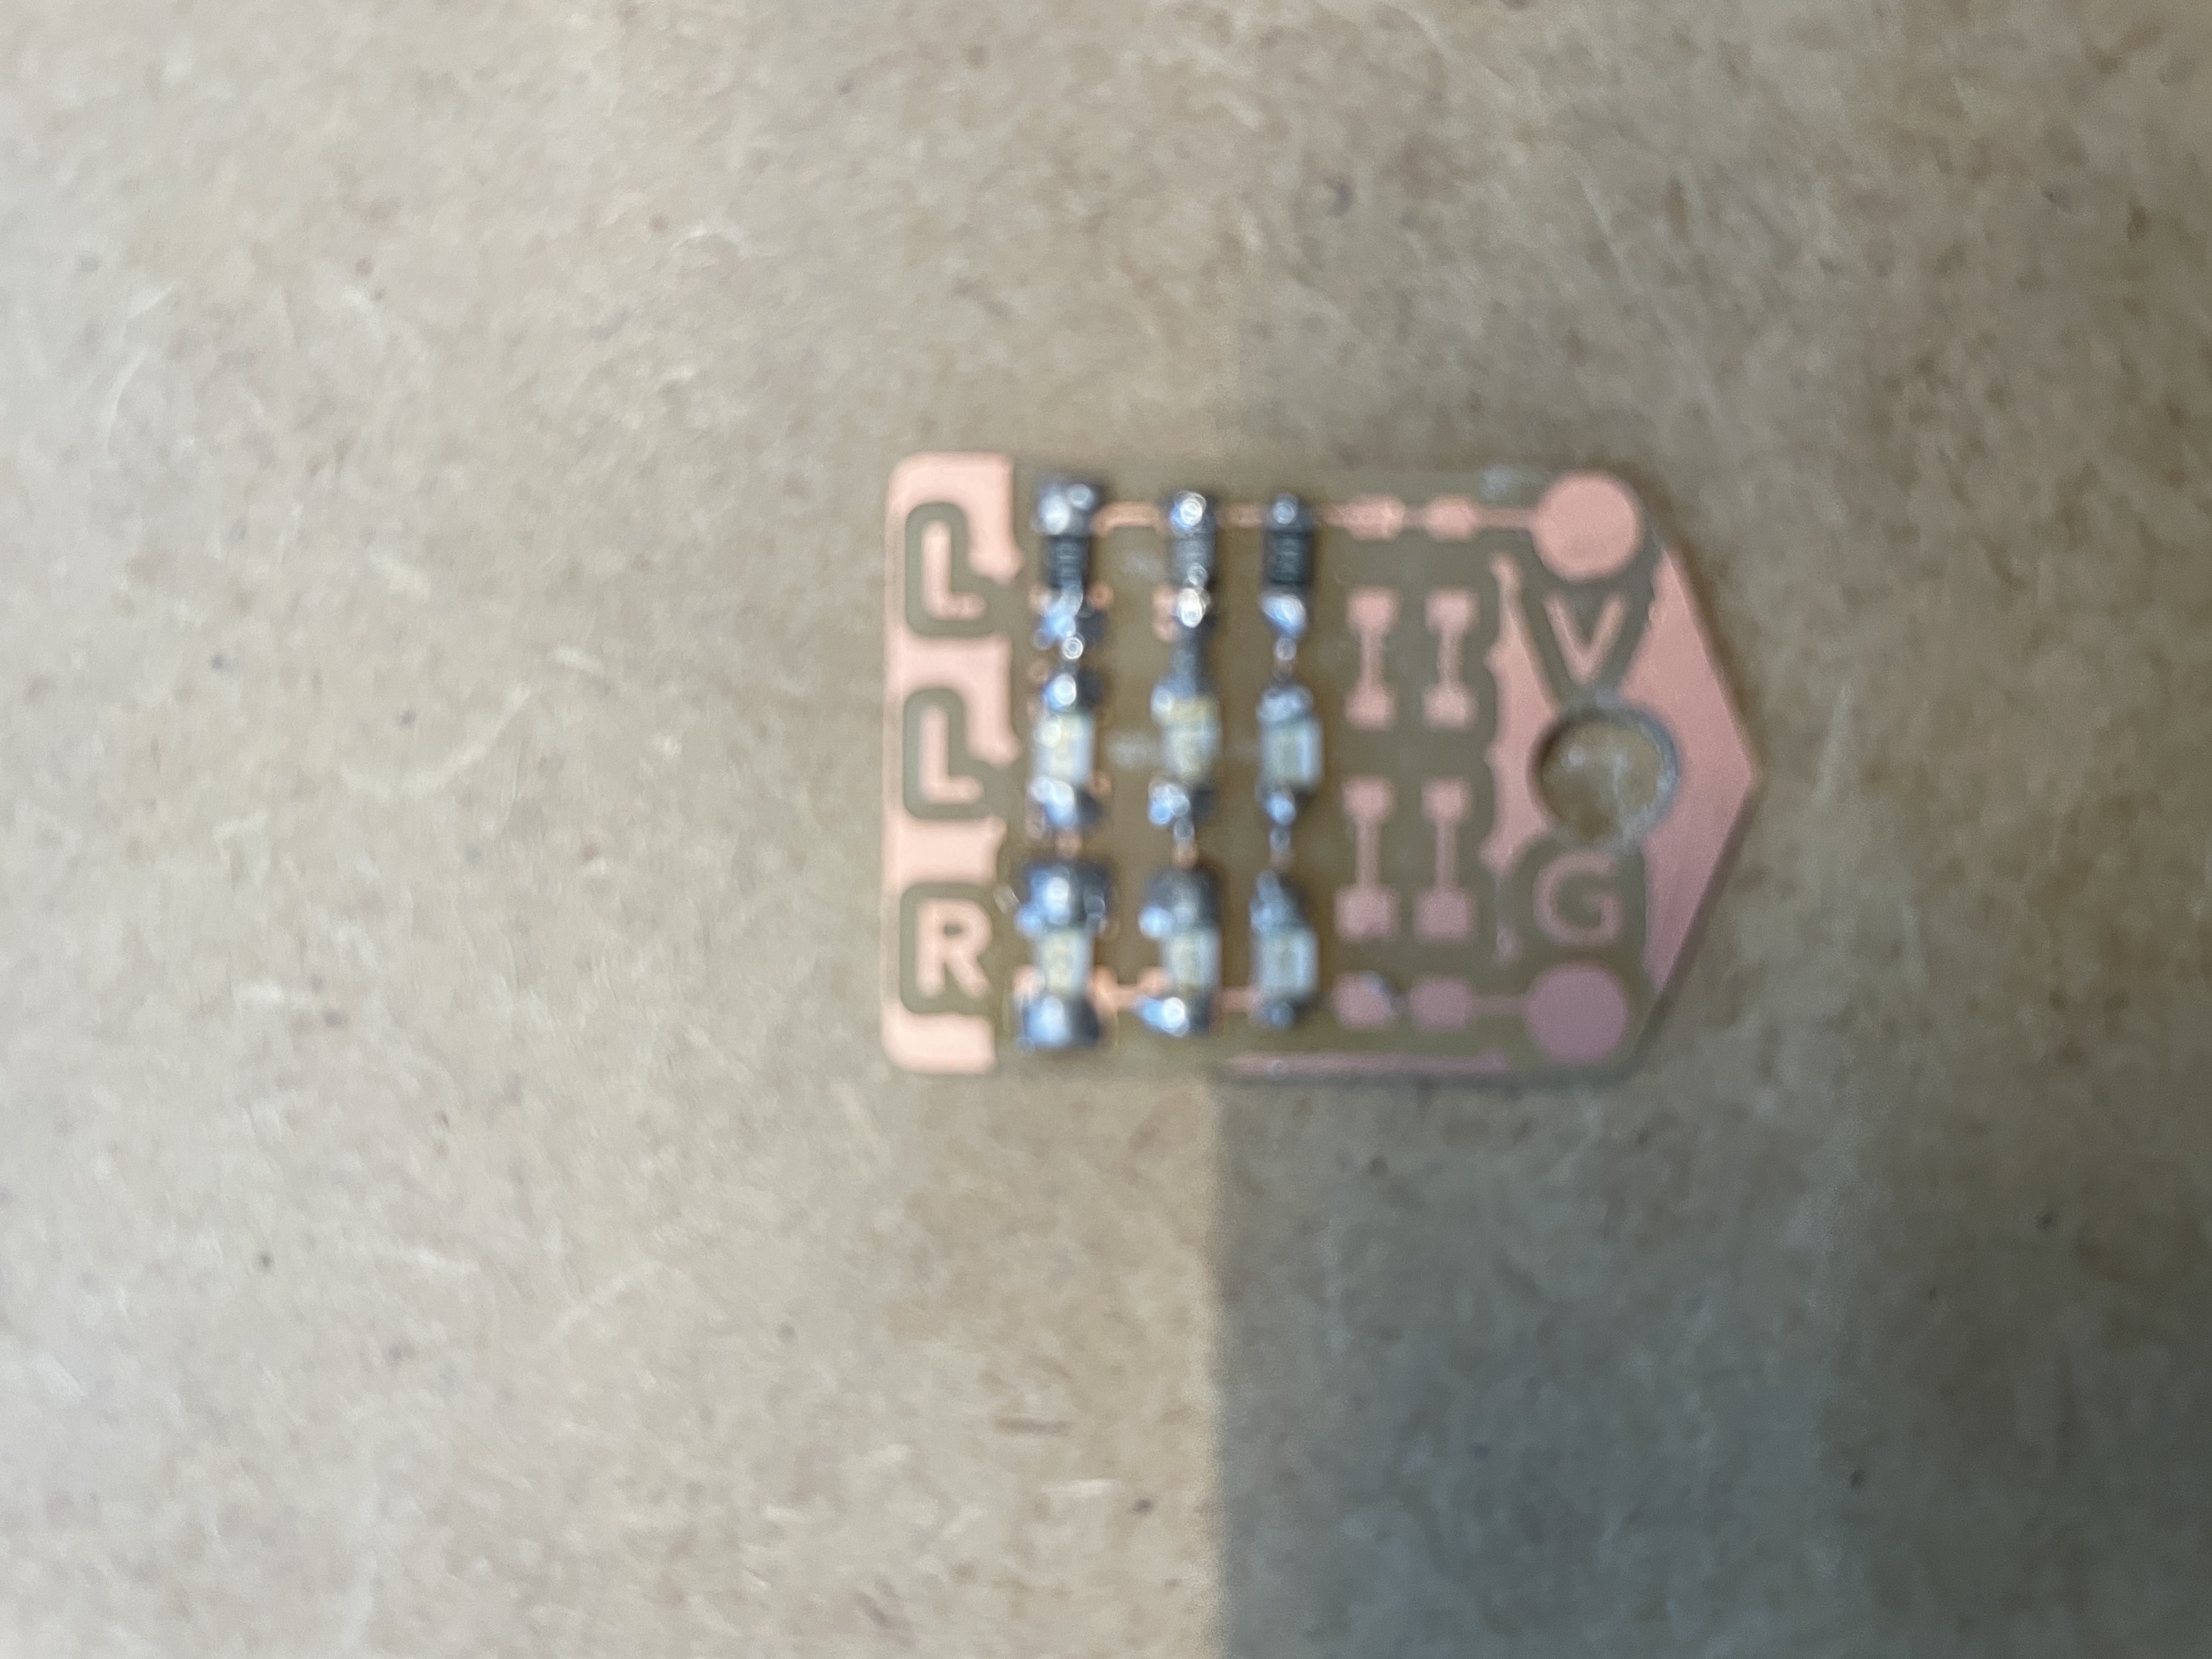
So next to the theoretical knowledge we acquired, we also started making these with LED lights. We followed the preparation of the board and then on little precut pieces we dwelled circuits and the connection of the LED.
You can follow our process below:

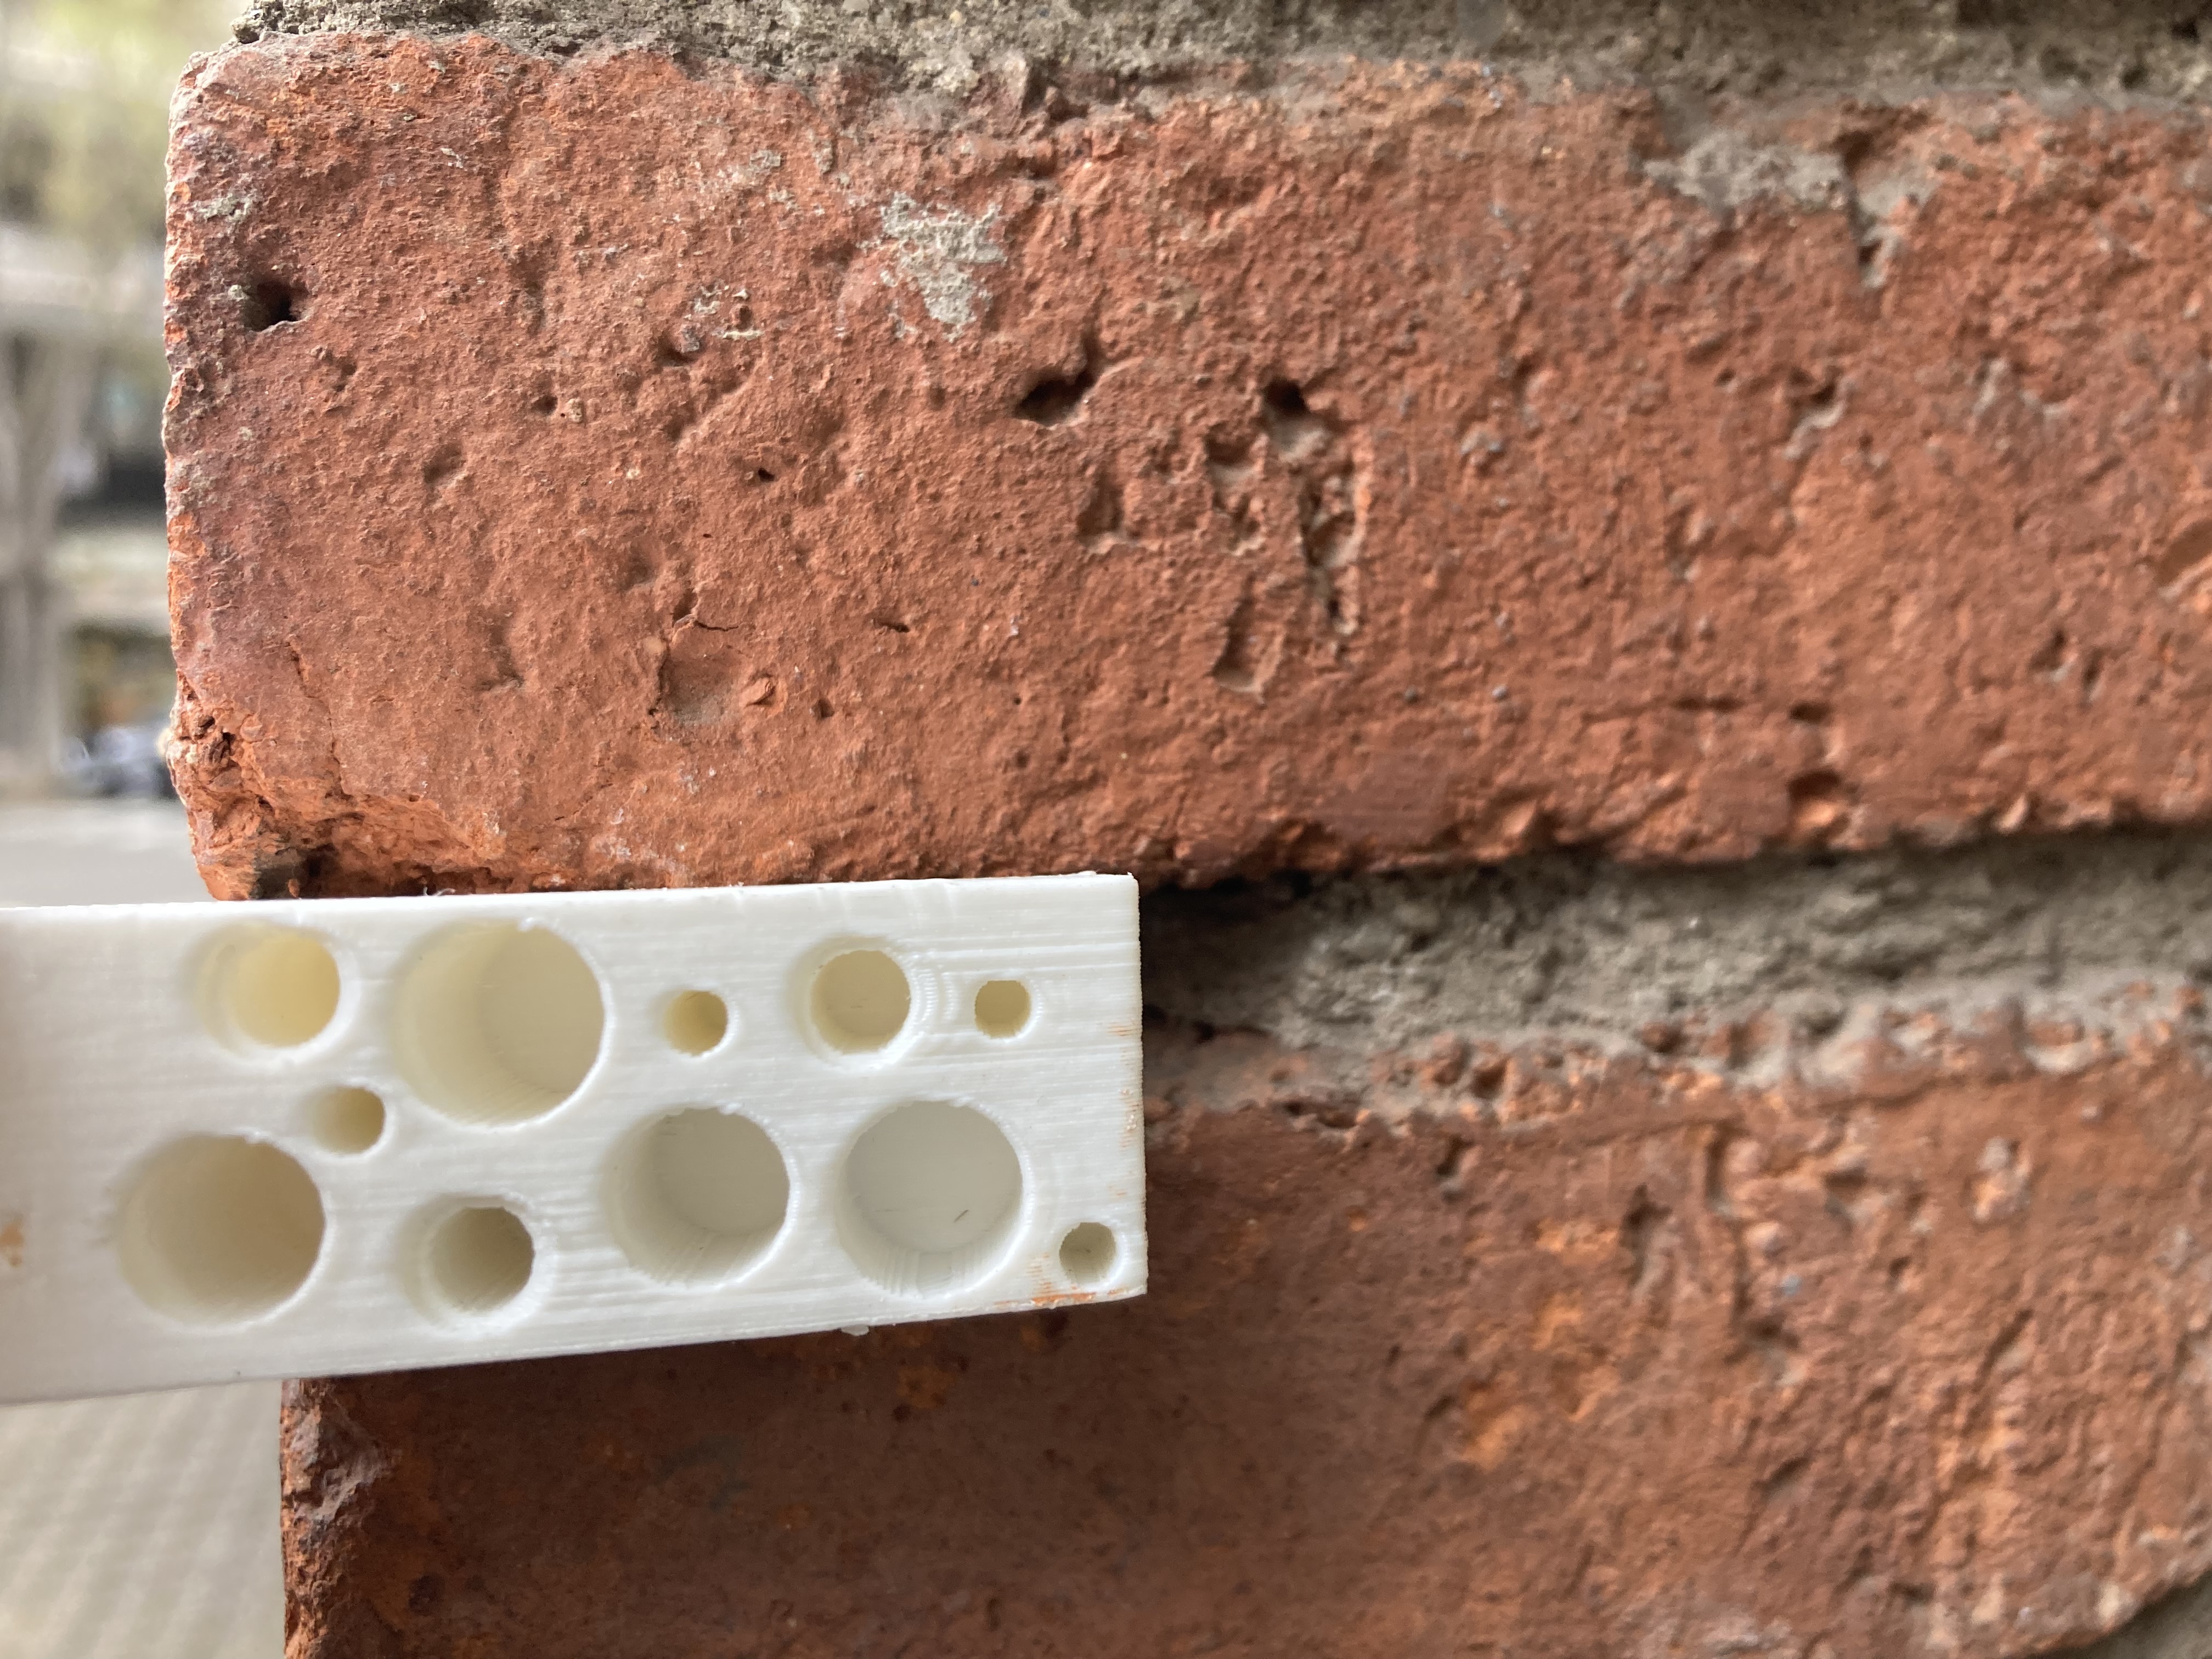
W5 - 3D printing and scanning
This week week we studied about 3D and scanning techniques. These are techniques I am really interested for a long time by now and also had many opportunities to try them in many forms. However this lab showed such new things I would love to experiment with later on.
We studied about the theory, such as the history of 3d methods, evolution and principles of these additive manufacturing methods. About technologies, such as: vat photopolymerization, material extrusion, material jetting and blinder jetting, such as the materials we can use for these technologies.
The most interesting part was the material extrusion, when with the whole class we could try a so-called food printer, made by an MDEF alumni with the FabLab team for a thesis project.
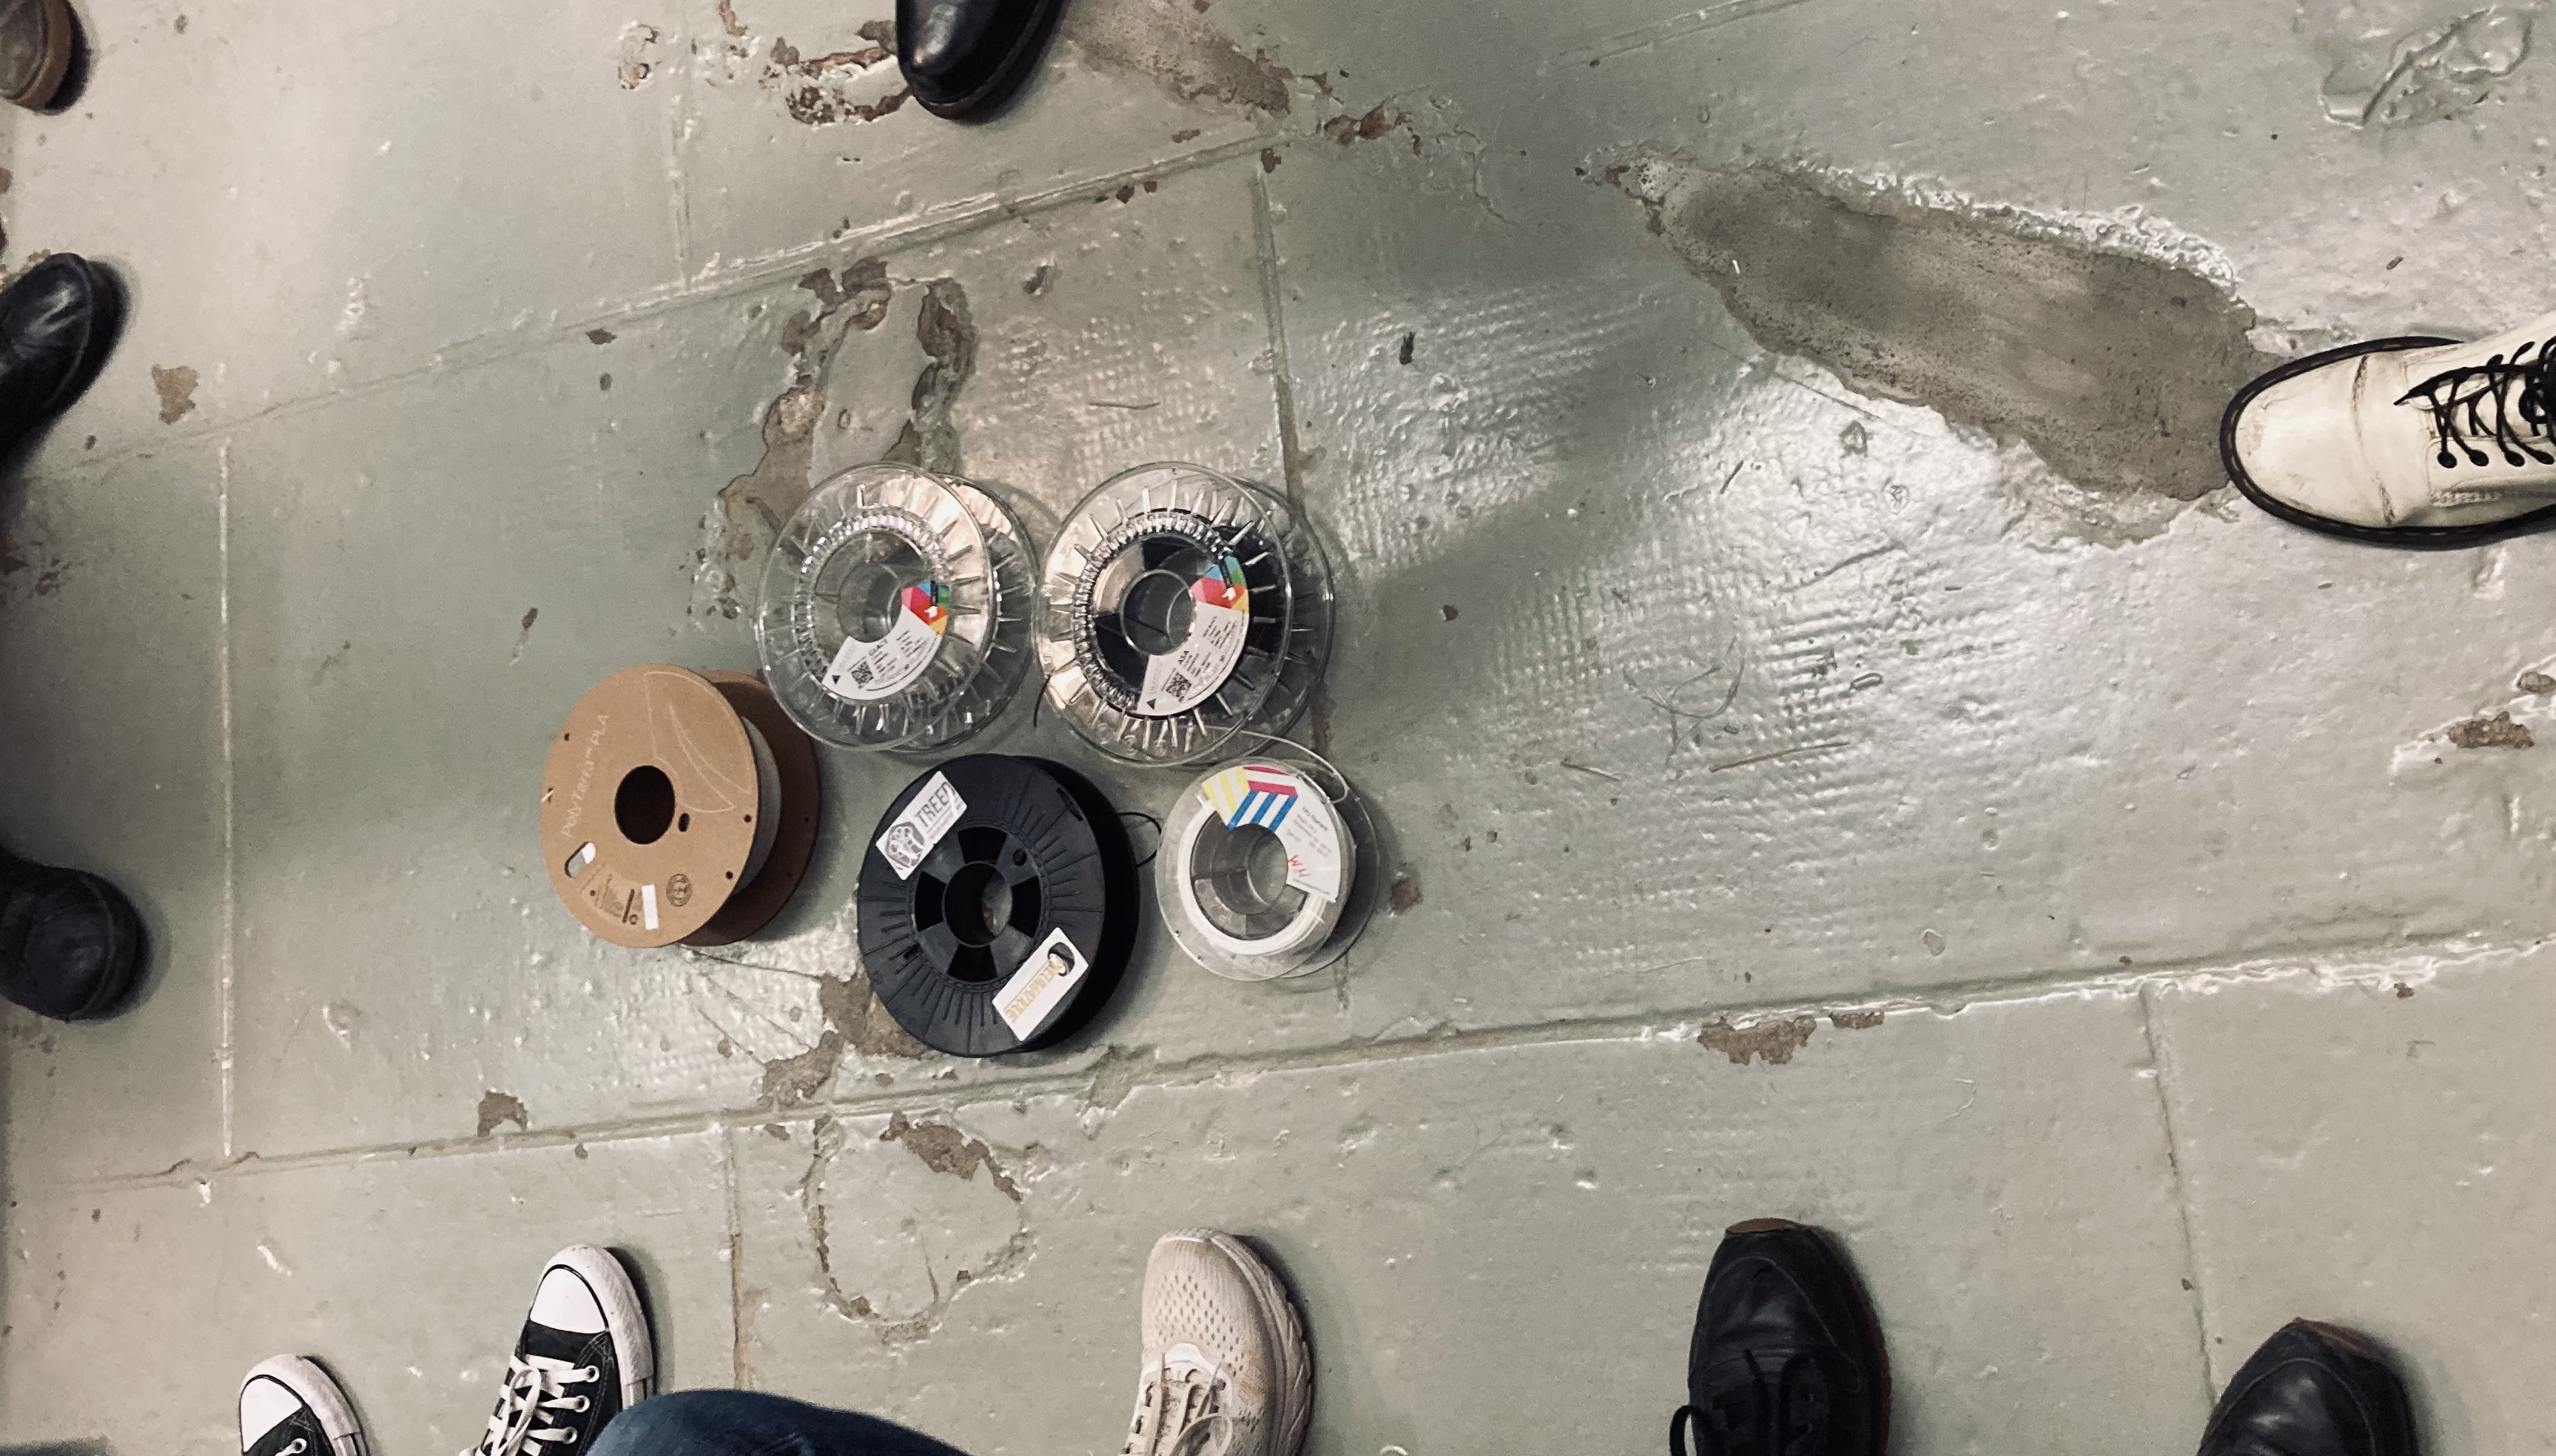
Later on we also experimented with 3d scanning - the point cloud based and about photogametry. I found it really interesting, how we can use some programs which generates mashes from the point cloud.
As an addition, the next week we studied about real time 3d design through Grashopper in Rhino, this method I aiming to use in one of my intervention connected to inclusive and equitable design in our urban spaces, with groups of neighbours around Poblenou.
Here you can see my assignment, which I will try to 3D print from a more flexible material and from clay as well, and experinemnt with its impelentation in the real environment.

W6 - Electroincs design
This week we continued our studies and built more skills in the topics of electronics. We studied about KiCad which was developed in CERN, to draw PCB schematics, create a layout factoring in the footprint of each component, and exporting it to be milled. Cern inventions are really closed to my heart since my Grandpa was a scientist there and as a child I followed with admiration everything he talked about.
Although, maybe the world of electronics is the farthest from me, we are planning to design our next micro challenge project based on these for a further intervention, connected to data collection.
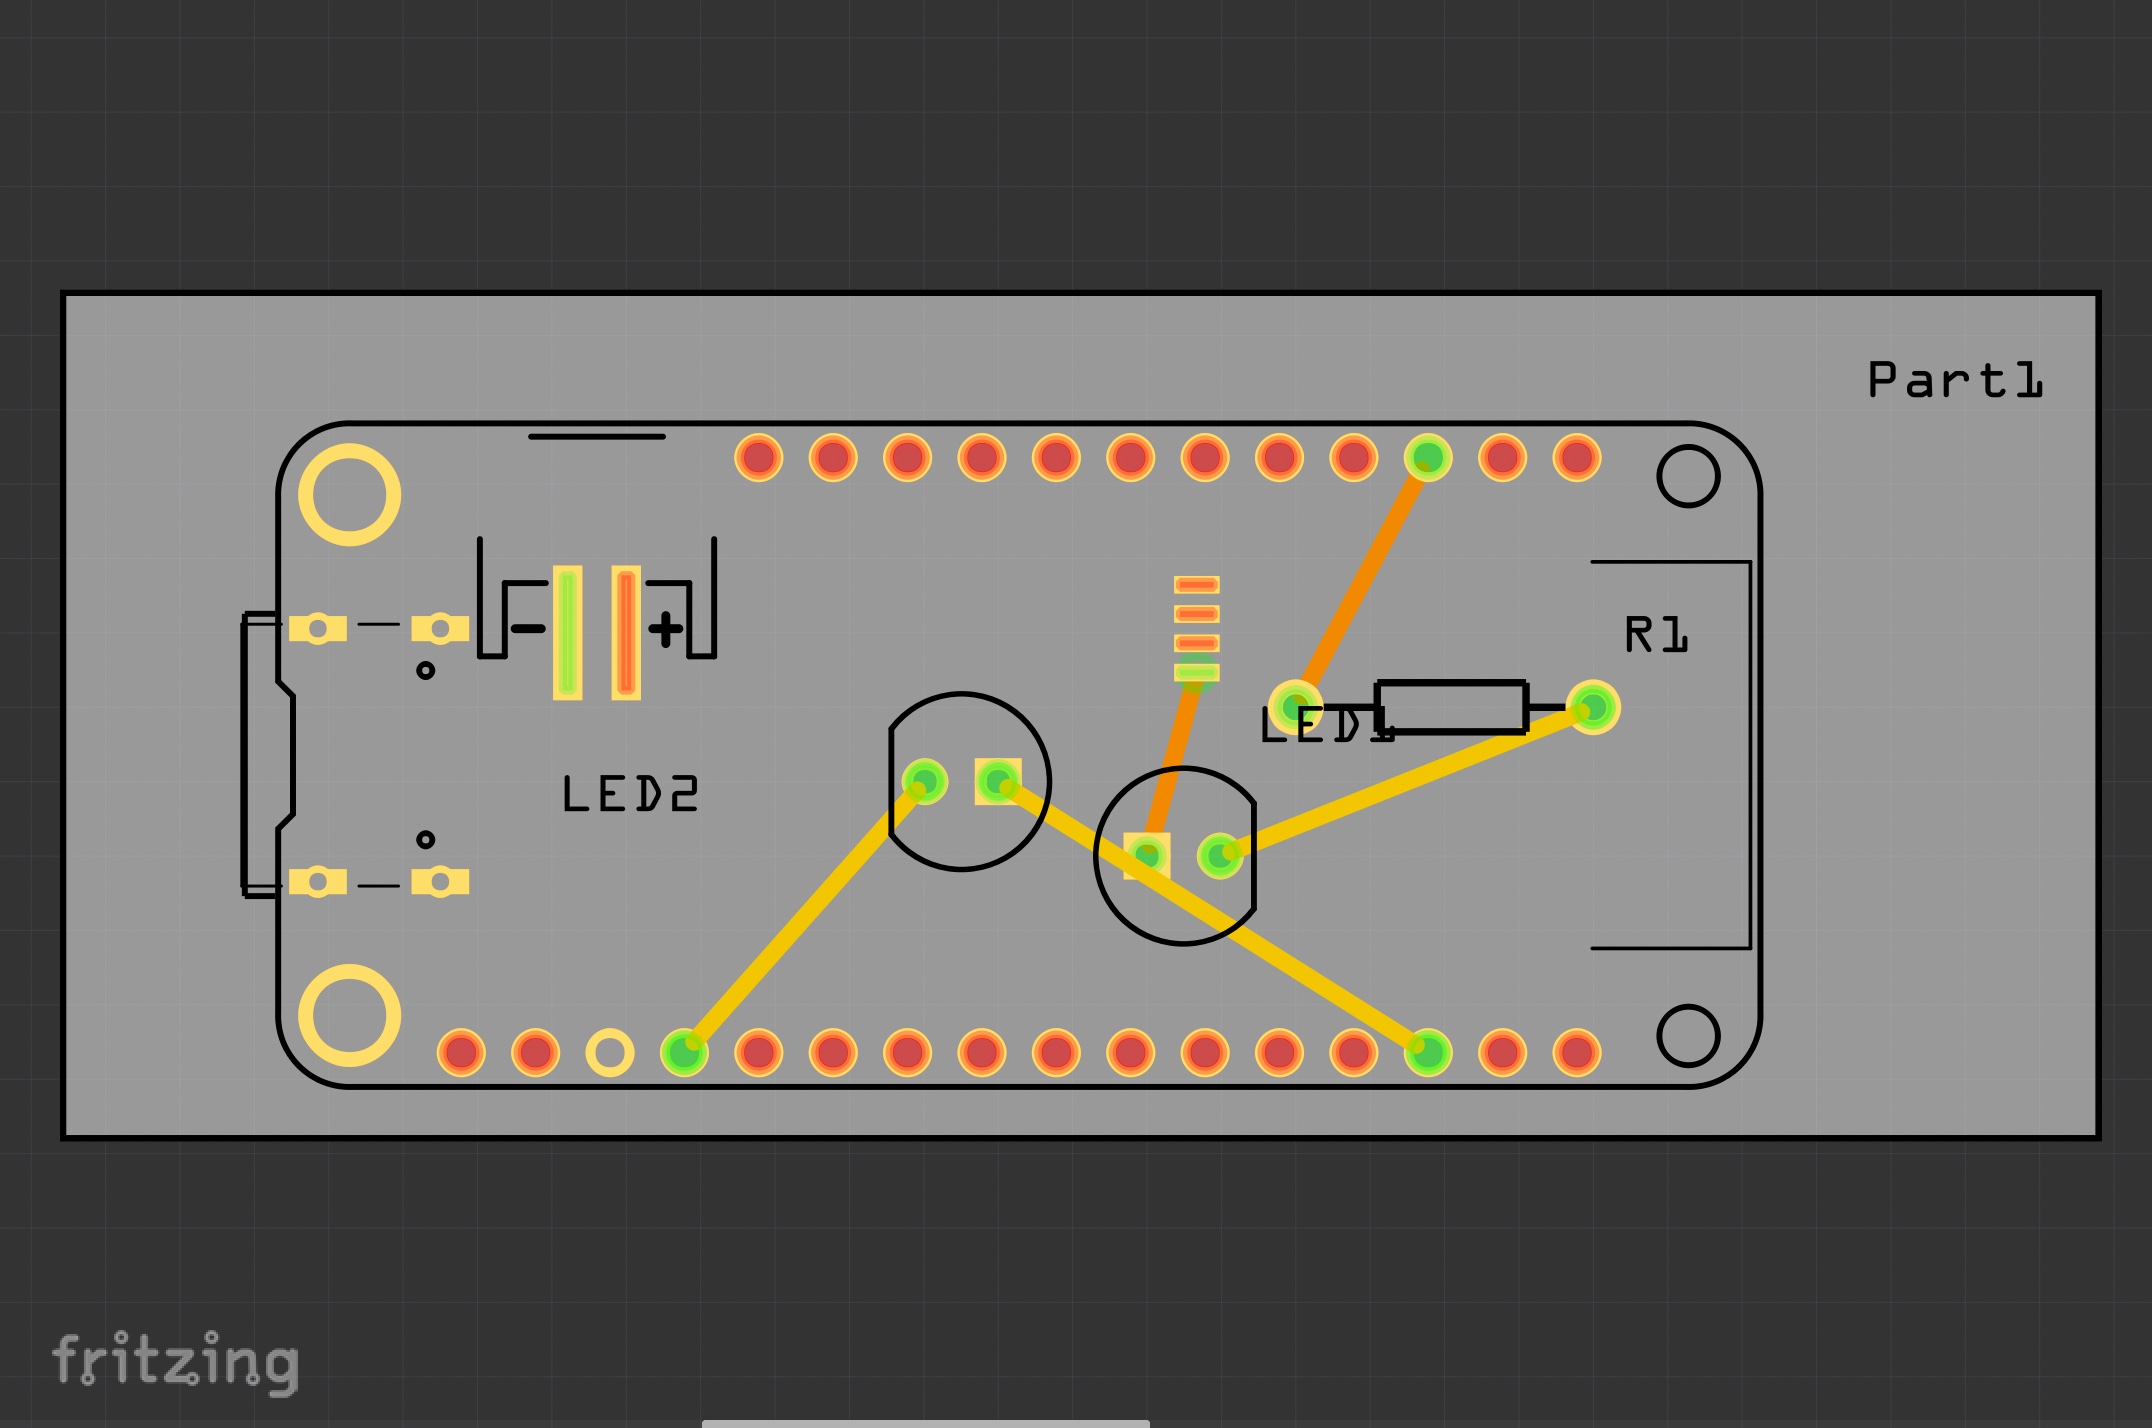
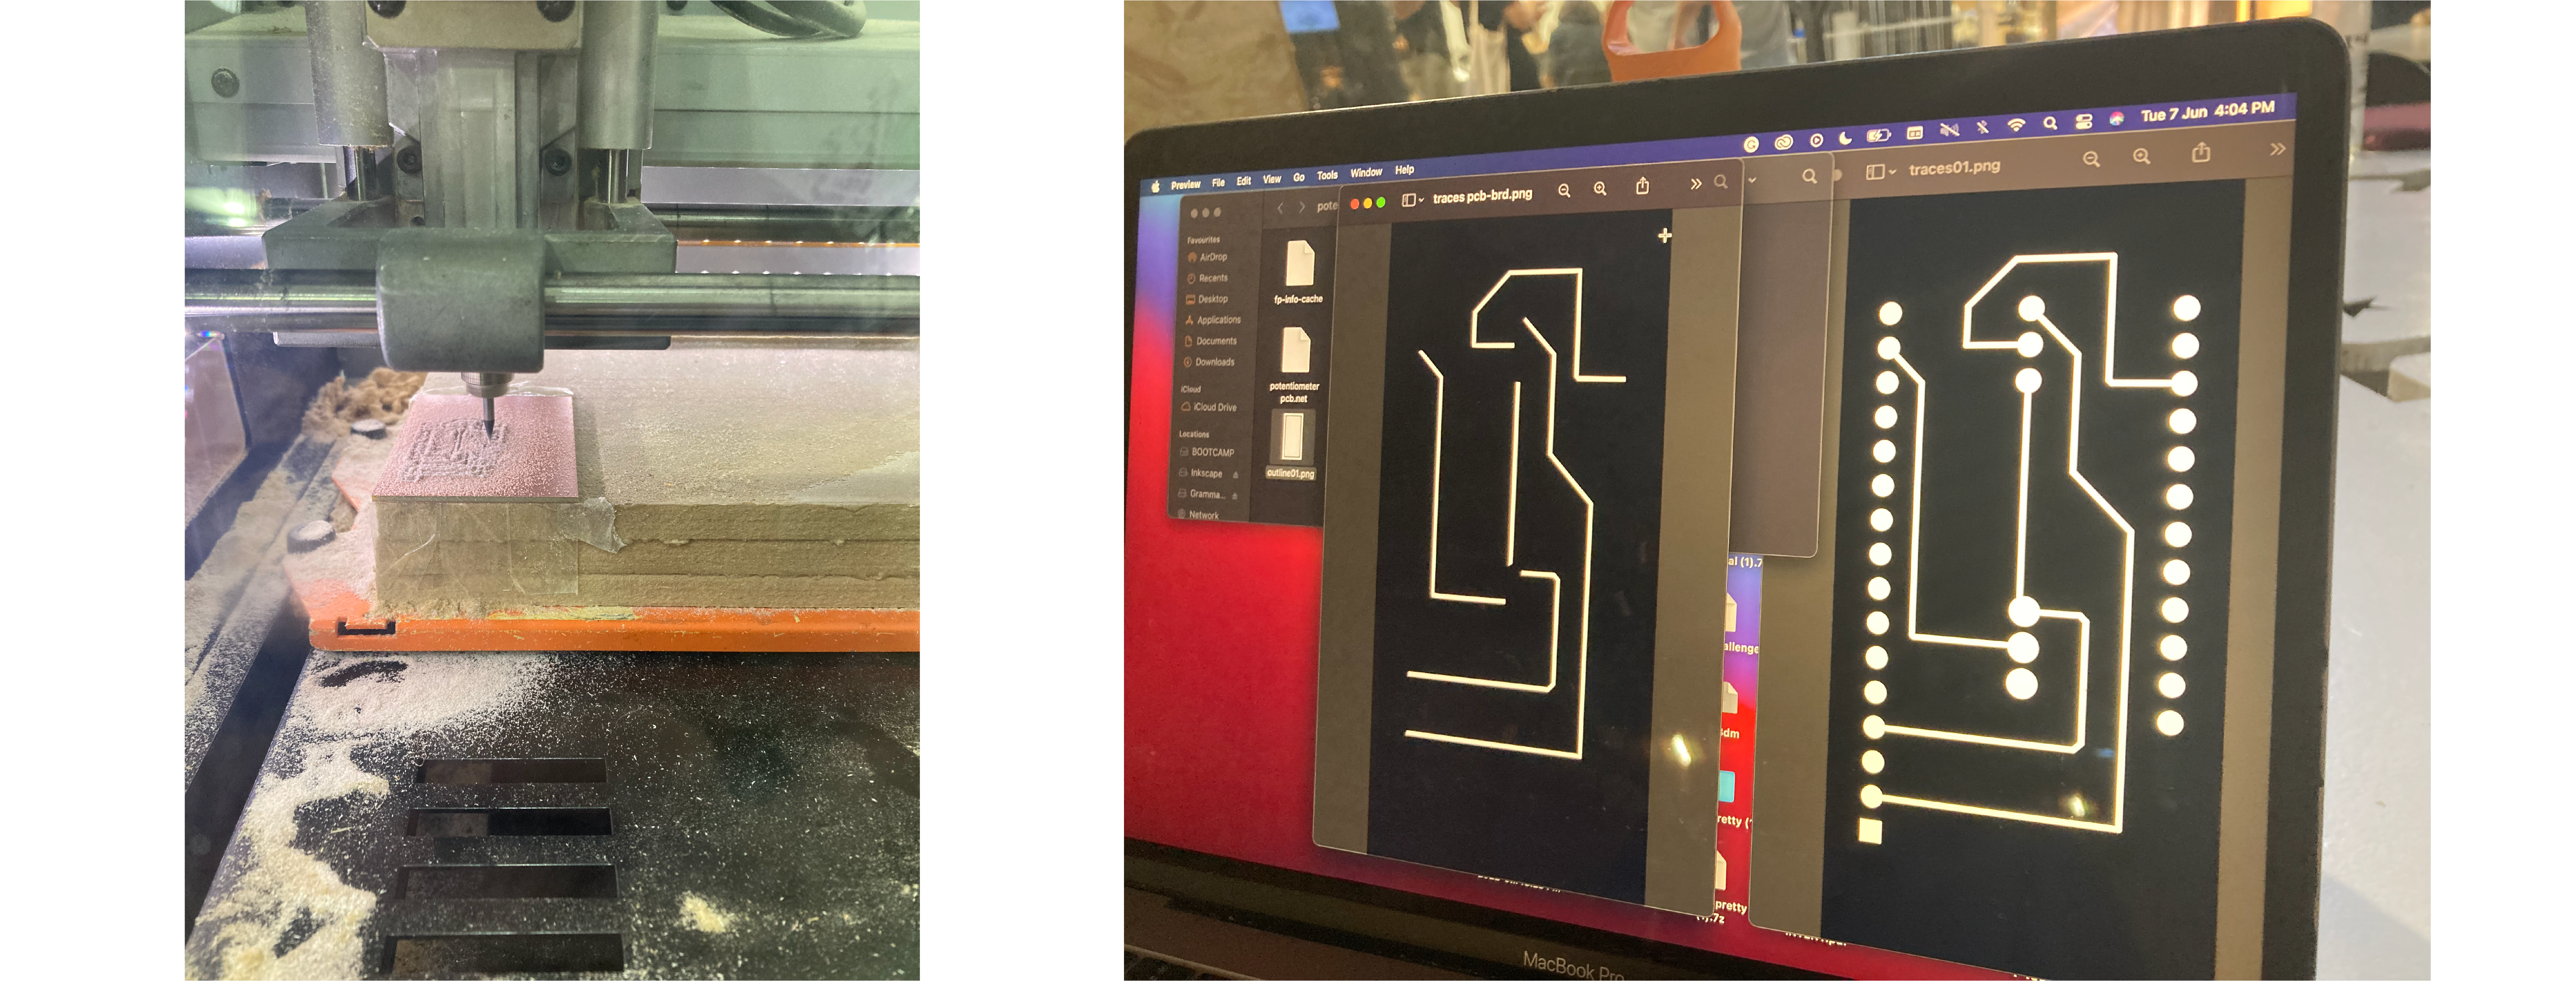
For the weekly task, with Aparna we did a small project which helps us to get familiar with this topic and learn the basics for further development, so I designed a PCB board for a LED output, and LED which lights up when turning a potentiometer.
First we eperimented on our breadboards and through that I created my part of the system Fritzer after experimenting in KiCad as well, I found the first one an easier program for a starter like me.
you can see the design here:
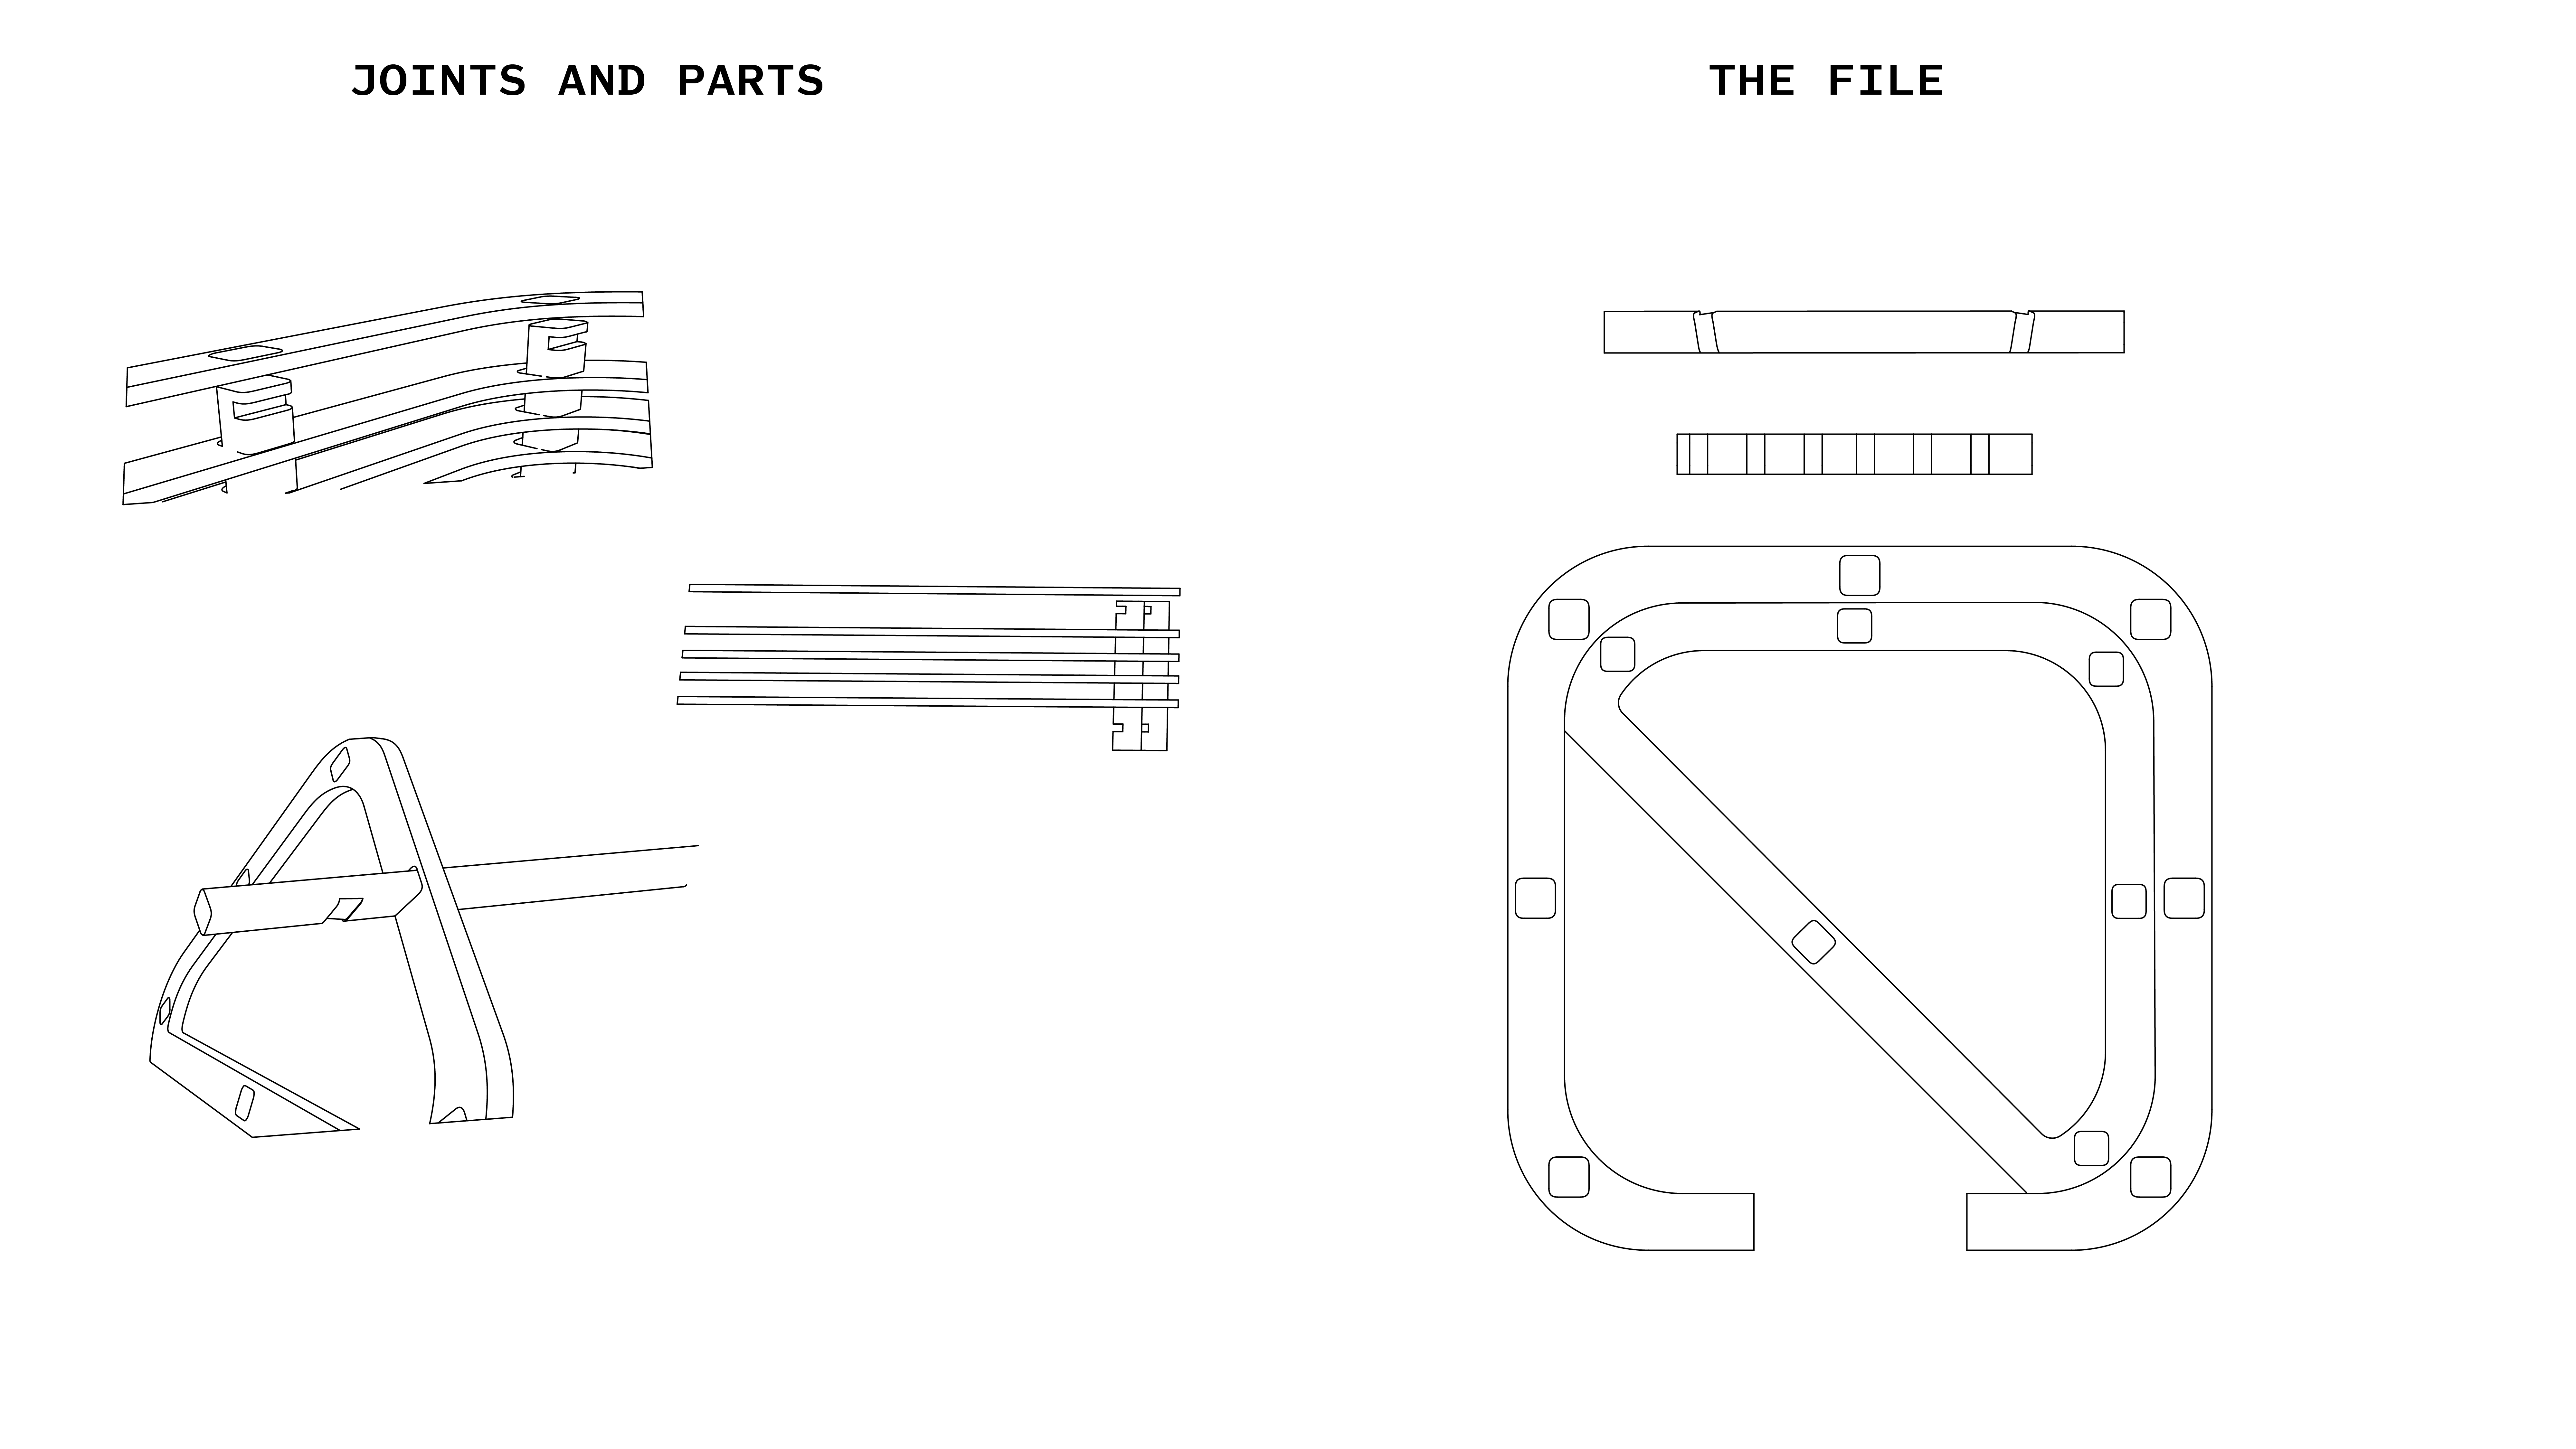
W7 - Computer-Controlled Machining
The time has come and we studied about computer controlled machine processes, about the power of subtractive manufacturing technology.
We studied about the parts of the machine, how to design for machining - about fillets and nesting (the last one I’m really interested in, I really believe it has its own art and takes up a very important part from the point se design the object). We studied about joineries as well, which I want to get deeper knowledge in, so in the next few days I will study the joinery library for more options in my designs. We also studied about G-code and how the machine should be set up with different materials we can use with it.
Personally using CNC machine for our designs is a really efficient way of not generating too much waste and enabling ourselves and others (with distributed, open source designs) to many times do it tool free and very easy to replicate.
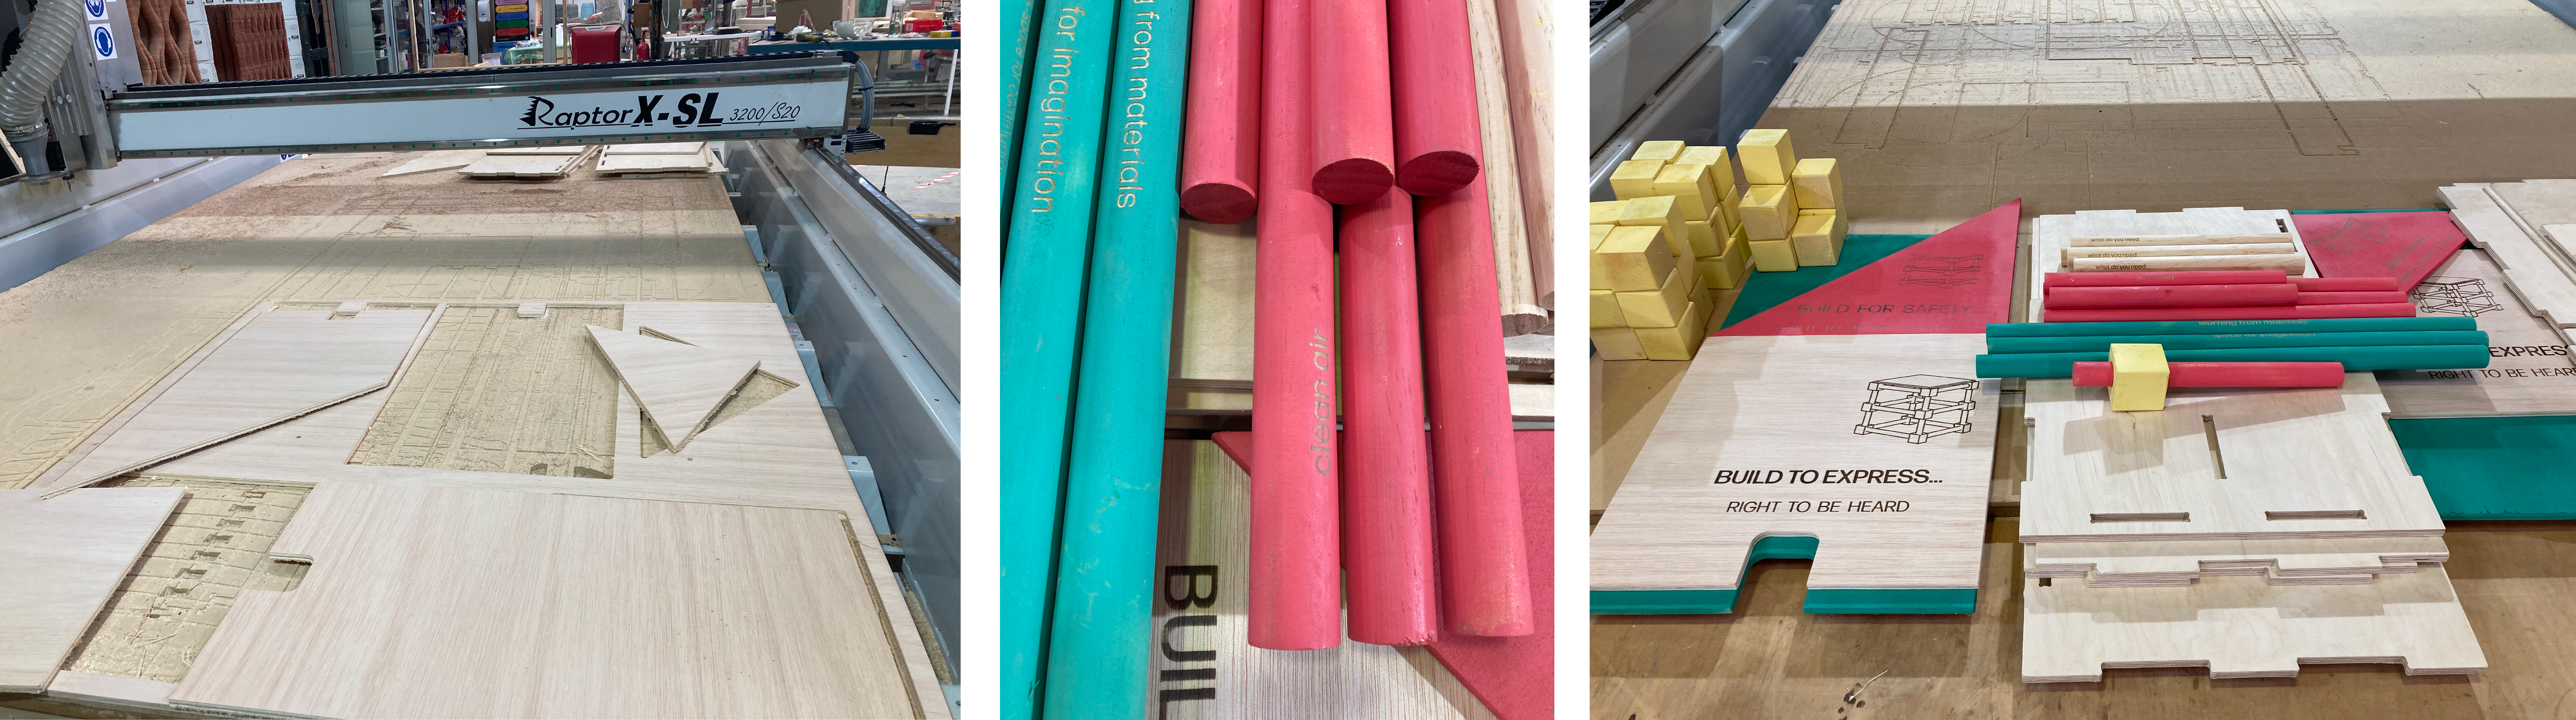
For the weekly assignment with my groupmate Angel.
we decided that we will implement the results of our first collaborative intervention in a CNC cut collaborative game, which will provide opportunity for further interventions and workshops in our topic: Biodiversity in our urban spaces.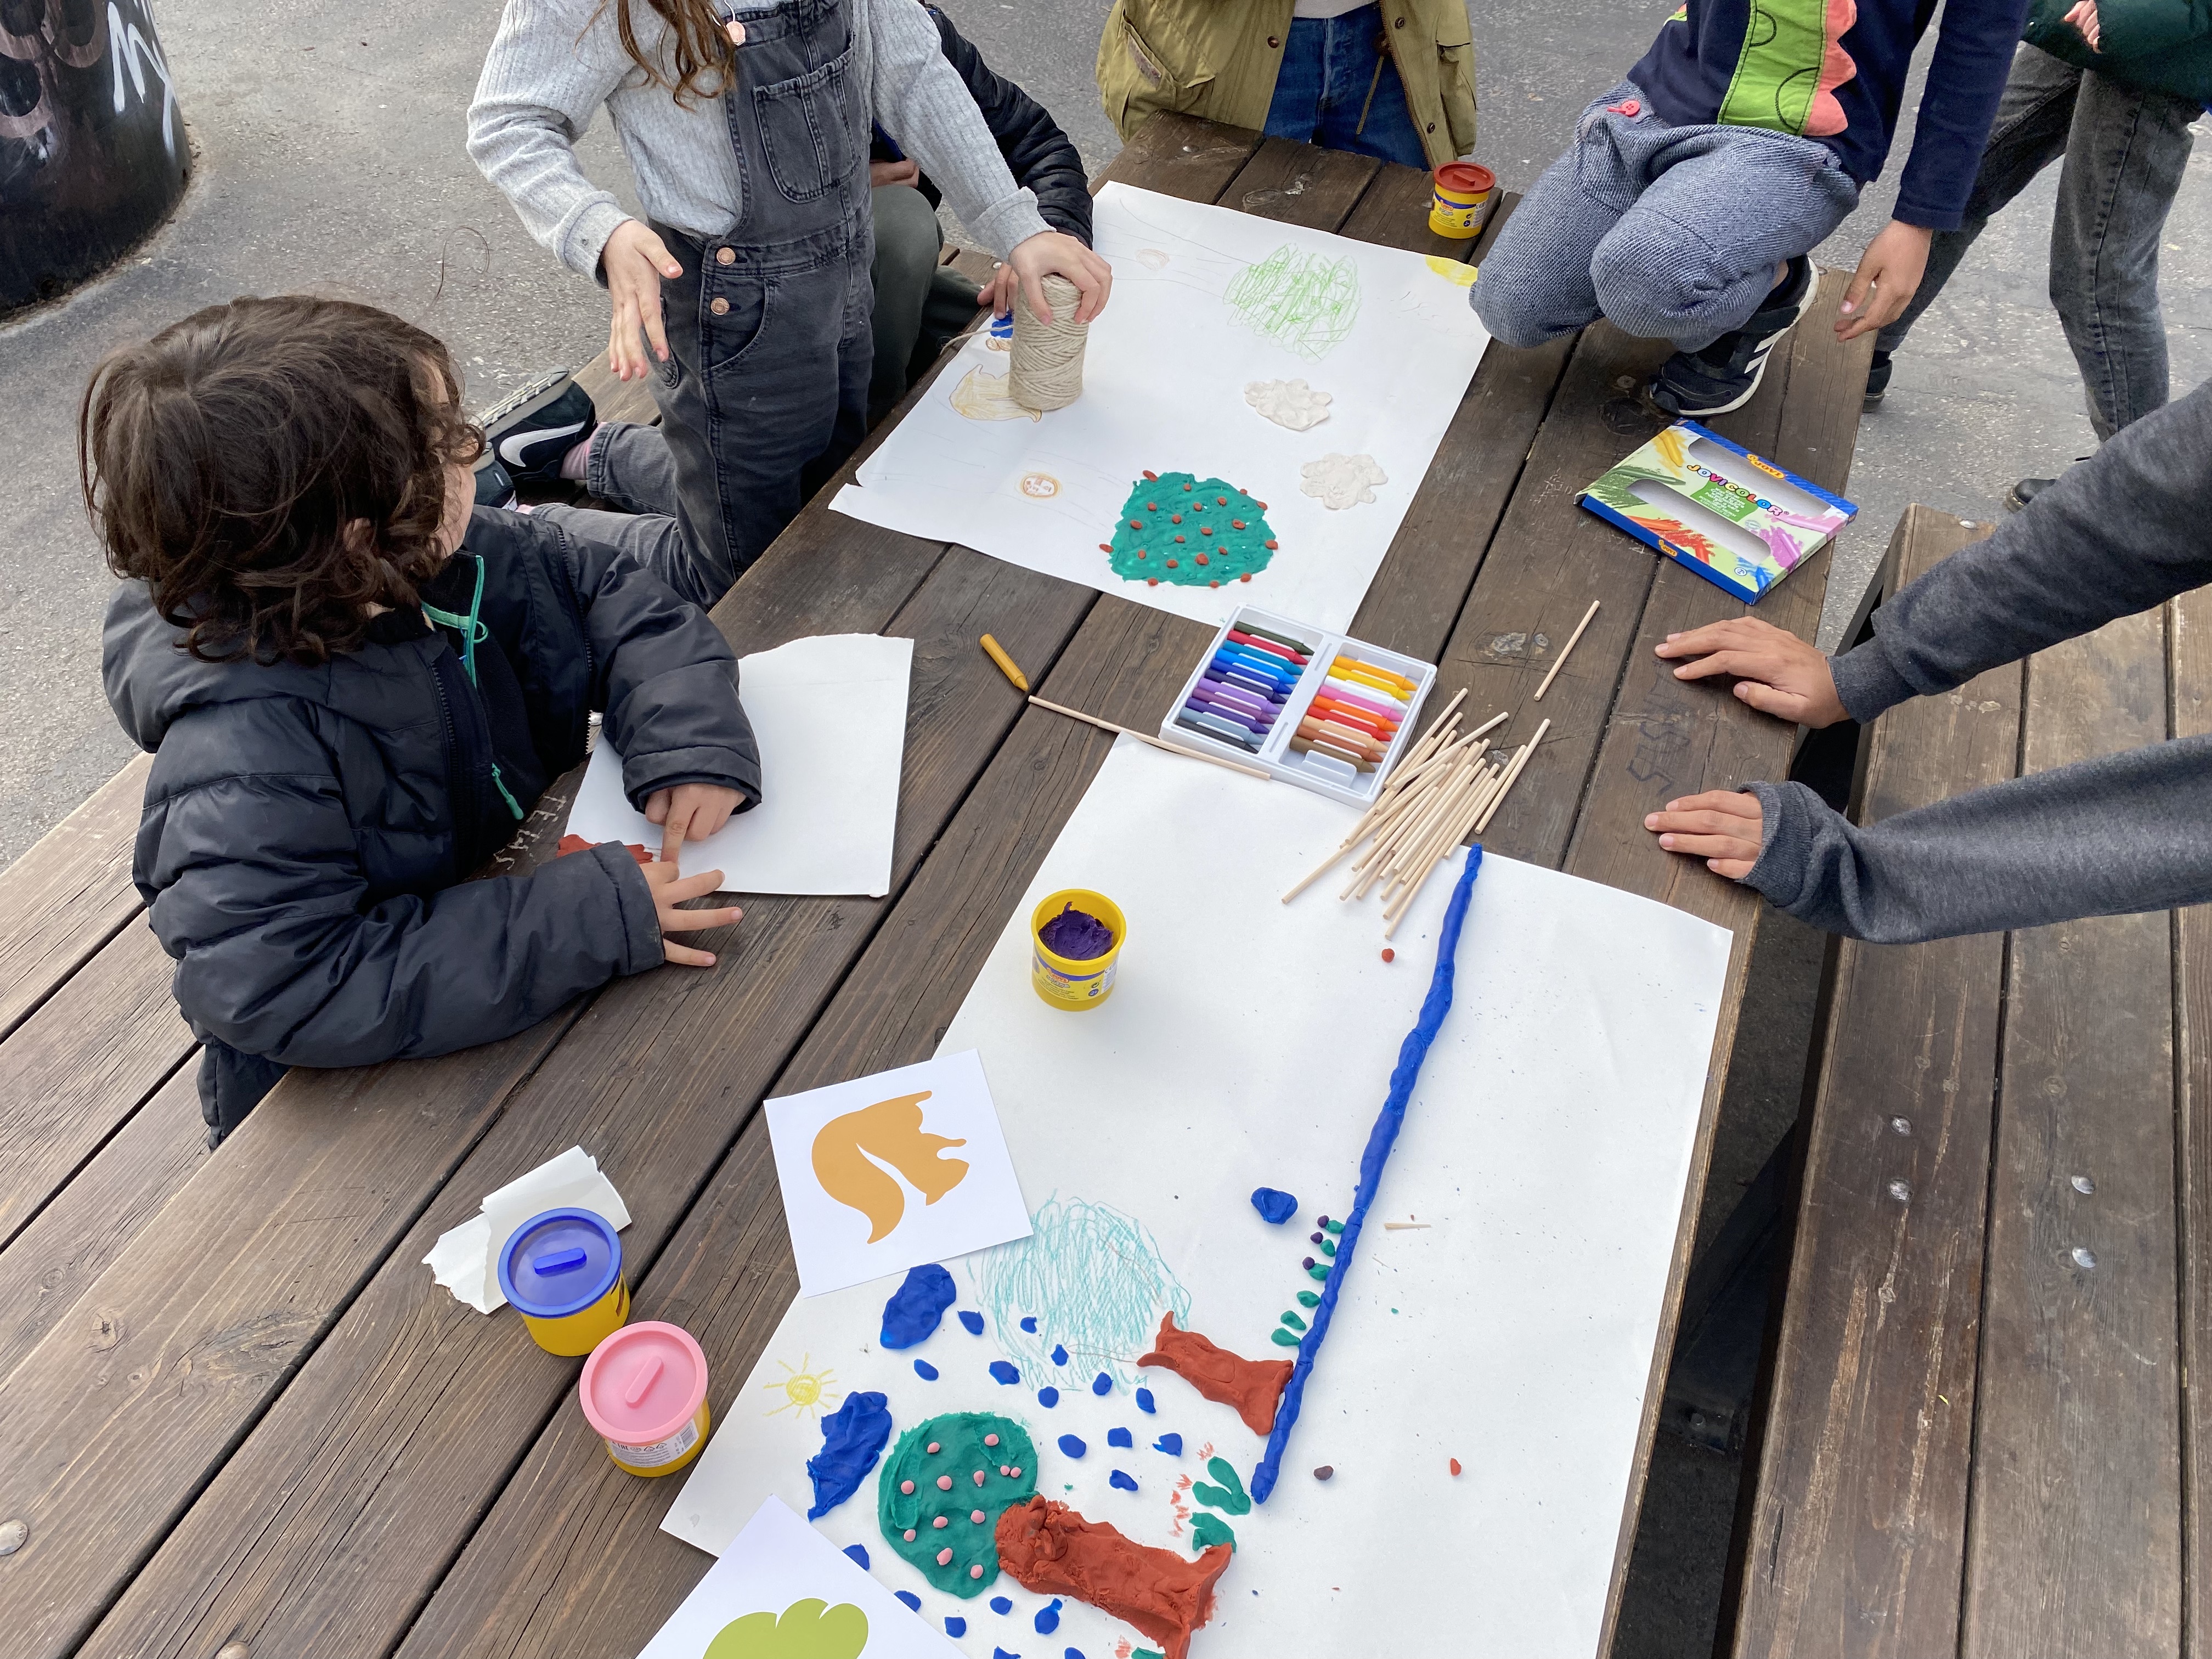
You can read about our workshop above on the link. However in a nutshell, we had a workshop with school kids in the Superilla, where we redesigned the space for the needs and activities of other agents who lives there, with us, for inclusivity and equity. So we collected the 'blueprints', from our youngest urban designers, which was made out of drawings and some physical prototypes and designed a modular building game out of it. This proccess enabled to actually co-design with our community every part of our interventios.
Here you can see the process and the final outcome which was exhibited on the Poblenou Open Day in May at IAAC.
W8 - Embedded Programming
This week we studied about electronics and computation. We learned about the evolution of computers, from the huge scale to the changing infrastructure of them. The class was an introduction of the computational world and their mechanism by the coding languages and their world of programming.
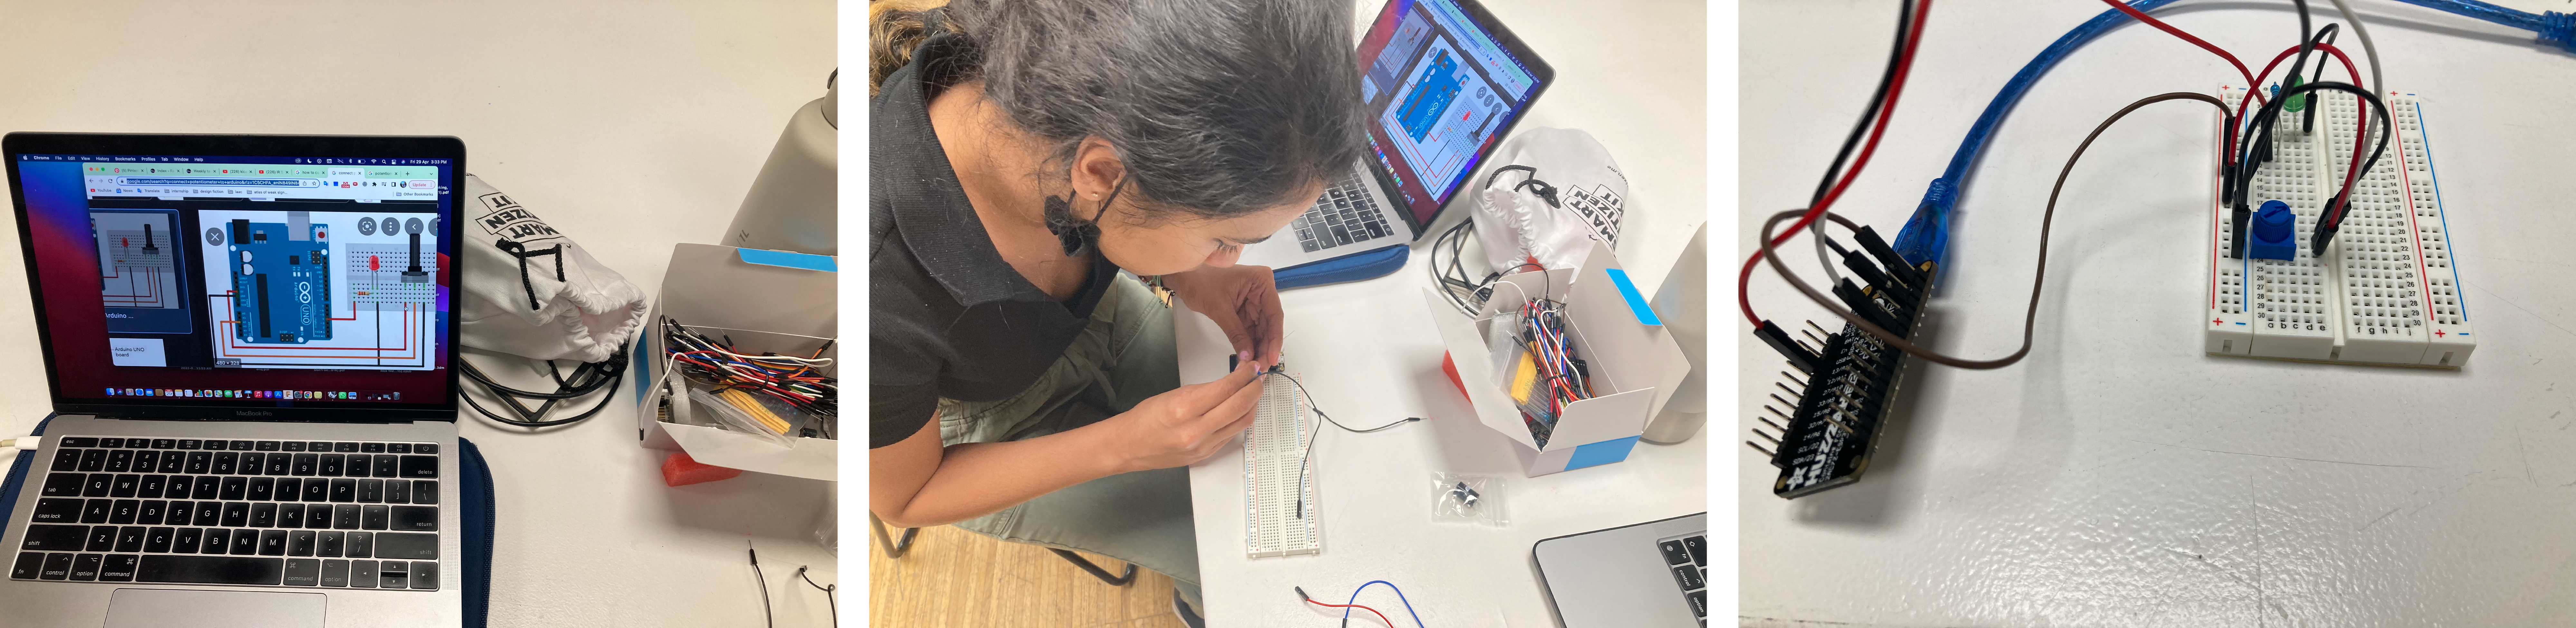
We studied about inputs and outputs we can create, through the process of flowcharts and codings. And we revised different kind of concepts of these. We also practiced the workflow with our Ardurino kit, in a really similar way, we did in our Coding and Electronics pre-course. We revised C and C++ languages, such as different libraries we can use with Ardurino and we studied about our microcontrolers, such as our Feather ESP32.
For studying the basics, when creating a pcb board with Aparna we created one for an input and one for an output. The output part was my part to create, so I started it with builing a breadboard with the potentiometer and an LED and programmed it, to gradually turn up by the turning of the potentiometer.
W9 - Molding and casting
This week we studied about different molding and casting techniques, materials and methods. We studied about analog ones as well as ones connected to digital fabrication. However this class was mostly connected to traditional techniques, to understand more about manufacturing and production processes.
We studied about the processes connected to latex, silicone and wax as well and about their characteristics. We studied about the creation of the negative shape with these materials, such as milling for wax or the pouring of the silicon. I want to explore more about molding for different kind of buttons and educational purposes as a way of tactile learning.
I used this weekly task to create elements for our 4th micro challenge.
W10 - Output Devices
This week we built on the previous topics about electronics and coding.This time we studied about the outputs we can create and about the devices which enables us to create outputs through the methods we acquired.
We started to study about the proper microcontrollers for the tasks we further studied about. When we have to take into considerations of the power, ports, connections and pins. After the introduction of the microcontrollers. We also studied about the theory of electronics such as amperage, voltage and current as well as about electromagnetism. And later on we were introduced to the devices, such as stepper motors, servo motors and brushless DC motors.
I started milling my pcb with Aparna for our common led and potentiometer inputs and outputs project and I could make it until the mods tranformation, but after thet point many problem occured with my pcb milling, so we were only able to finnish Apana's pcb which was for the potentiometer and the ESP32.
Here you can see the progress:
W11 - Inputs Devices
After the break we continued our previous topics. From output devices we rotated into output ones. From the internal agent to the external agent of our devices. The input devices means sensors, sensors such as: a button, a resistor or a microphone. These devices turns the information into numeric values in the binary system. Into yes or no, true or false in the means of 0 or 1.
One of the most interesting part of this topic is the protocols of the communication, these devices have to follow.
On the second part of the class we studied about sensors, we can build by ourselves.
W14 - Networking and communications
This week continuing the studies about electronics, we studied about connections. Connections between devices or in a smaller scale, microcontrollers, boards and sensors. We learnt about we about different kind of communications protocols and mechanisms, such as the Asynchronous (UART, USB), synnchronous (I2C, SPI), over-the-air (WiFi, Bluetooth)
After the class on the Friday Lab life we talked a lot about these systems with Jeremy, who also taught us the numerical system of these communication systems.
For this weekly task, as studying about these systems and tools with Aparna we created to kinds of PCB boards, one for the input with the potentiometer and one for an output a gradually light up LED, you can see the code below.

W15 - Interface and application programming
This class was really interresting to me, we studied about a program which I was interrested for a long time.
Procesing and blender were the most exciting platforms to me. We created some really basic programs in P5 to visually and graphically show the data collected live from an LDR. We went through the libraries of the program and studied what kind of tools and interfaces we can use. I find p5 a very user friendly platform, since you can find any kind of solutions in the libraries and modify them whith little effort. Later on Victor showed us to how to program these kind of inputs and outputs in blender, which would be super interresting for me for generating 3D simulations from data.
The weekly task we did through the last micro challenge, the 4th and modified it to have a nicer Graphic Usef Interface the following week. With our sensor ball (Sfill) we detect movements, touch and sounds and through P5 we visualize them. The most spectecular part is the movement detection, where the ball snapshot your body movements in different spaces and creates a blueprint out of it.
Below you can see the P5 code for it:
P5 code for all the sensorial outputs
1st refference: Line for drwaing between detected points
2nd refference: Stroke weight for graphical modification
W16 - Wildcard Week
This week is a wild card week, where we could implement out learnings in any kind of digital fabrication, computer aided proccess, my aim is to use this for one of my final projects. Which will be created through cnc, laser cutting and 3D printing. But first I will reflect on our learnings, which were about the usage of the robotic arms, specificly about the KUKA robots: which could be used for 3d printing, CNC milling, cutting or any kind of addition you want to use it for. It could have 6 axes and it's table can be rotated as well for having up to 9 axes. The steps of setting up the machine is including: setting the rotation parts, the kinematics of it - kinematics is a field of mechanics in which the motion of bodies is described purely geometrically with the quantities location, time, velocity and acceleration. After the rotation setting up the movements of it in the orthogonal coordinate system - You cab have diffent types of movements: linear (singularity) and joint (movement interpolations).
For the wild card weak I created a participatory building game, which represents my research through the year and the insights about it, I gained through many different kind of participatory practices and methods, with different communities and workshops through this year. The game was mostly influenced by the outcome of the Montessori workshops. It's aim is to build for common aims, through constructing ideas, views and actual artefacts / public furnitures together.

W17 - Project Presentations
“The main objective of this week is to begin focusing on your final projects and interventions, defining the scope and developing a project plan for the rest of the course Some of the questions you should reflect on it and answer in your website:”
- What will it do?
My final intervention and project will be a gamified way of studying about the importance of participatory methods, to be able and see each other’s realities and by that being able to build inclusive and equitable spaces, solutions and systems.
The game will be based on the actual needs of the children, gained through many workshops with them and by considering them, we are considering children rights, such as the: freedom of expression, the right to play and the right for safety. By considering the needs we already build solutions and reach the goal of being aware of their rights.
- Who’s done what beforehand?
There are many participatory methods connected to the voices of children or the usage environmental education for strengthening the decision making of children or just showing the eye-level of kids such as: The city at eye level, The public play symposium or the Designing For Child rights, which is a collective creating principles of design strategies based on children rights, but you can also see this as an important topic in the New European Bauhaus initiatives as well. My project tries to connect the dots and create a methodology and a kind of network based on the above mentioned points.
- What will you design?
My design is a participatory building game. With triggers and challenges to build together and express different points of views.
- What materials and components will be used?
Components: A box - which will be kind of a statement about the child rights, parts of the building artefacts as triggers of different needs, the joints and a lid of the artefacts, that shows you reached your goal.
- Where will it come from?
The wood will be from the Fablab, hoping to be able and use scrap materials and I would like to buy cylinders for the building parts.
How much will they cost?I don’t like to spend more than the IAAC budget, which is for MDEFest materials, I would like to buy paint for different colour codes for that and for the cylinder wood if needed.
- What parts and systems will be made?
This is mentioned is the components section.
- What processes will be used?
3D printing or drilled wood for the joints, laser cutting for the challenge parts, cnc for the box of the game and the lid parts.
- How will it be evaluated?
It will be evaluated by the engagement of the people interacting with and by the conversations it triggers, later on I would like to use it in different kind of scenarios, through facilitated workshops.
See the plans above at the Wildcard week